

Inspiration
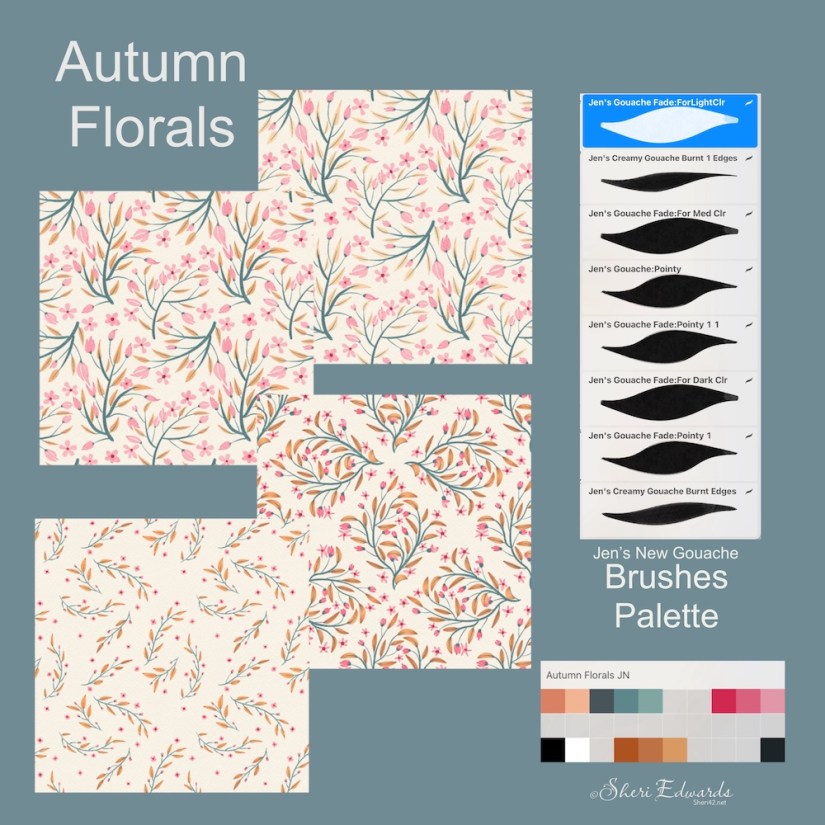
I’ve written many times about Jennifer Nichols of Leila and Po Studio [affiliate link] and her amazing classes in her Creative Journey artist community. Her recent “Live Lesson” “Flowy Fall Color-Changing Gouache Pattern” is on YouTube; we learned about her new Procreate gouache brushes, ways to change their settings for using secondary colors, and how to make a quick scatter pattern. The canvas, brushes, and palette are available in the private Creative Journey community. I’ve been playing with the brushes and pattern making for the last two days of my art time.
What a fantastic set of brushes– I’m still playing with the color part, but the stroke flow is like soft butter to create leaves and petals. And the canvas provided is a repeating texture created just for surface design patterns– simply beautiful.
My Journey of Autumn Florals
I used Jenn’s New Gouache brush set and my own palette based on my Winter Trees palette. I mostly just played with the brushes for creating stems, leaves, petals, and buds. Wherever the name of the brush says “fade,” that’s where you can play with a secondary color to blend in one stroke. I haven’t really played with that yet. If you like the palette, you can download my Procreate swatch here.
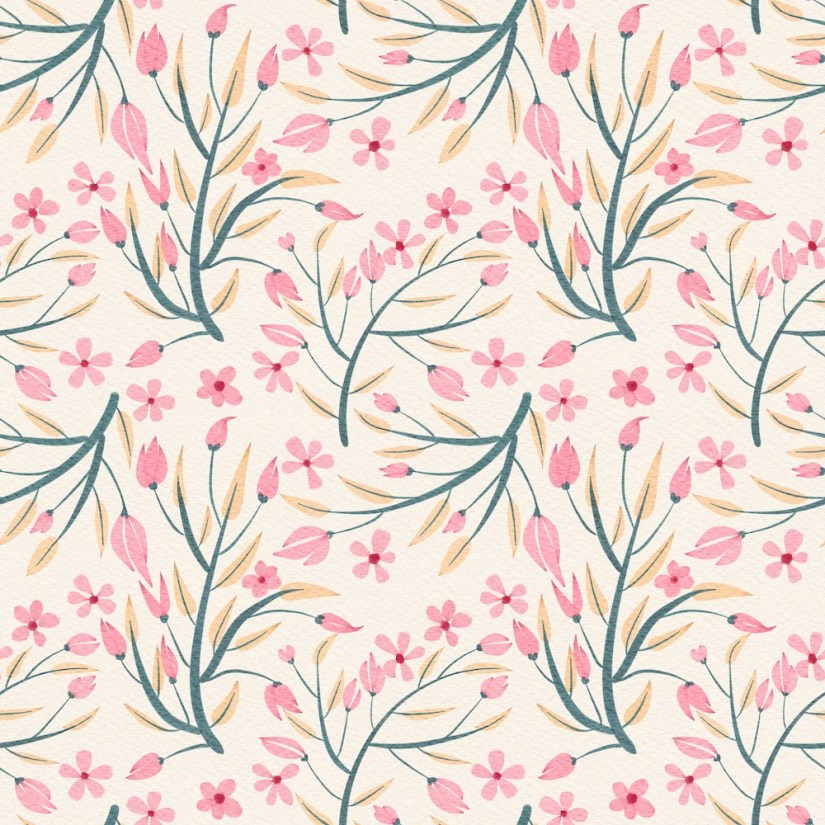
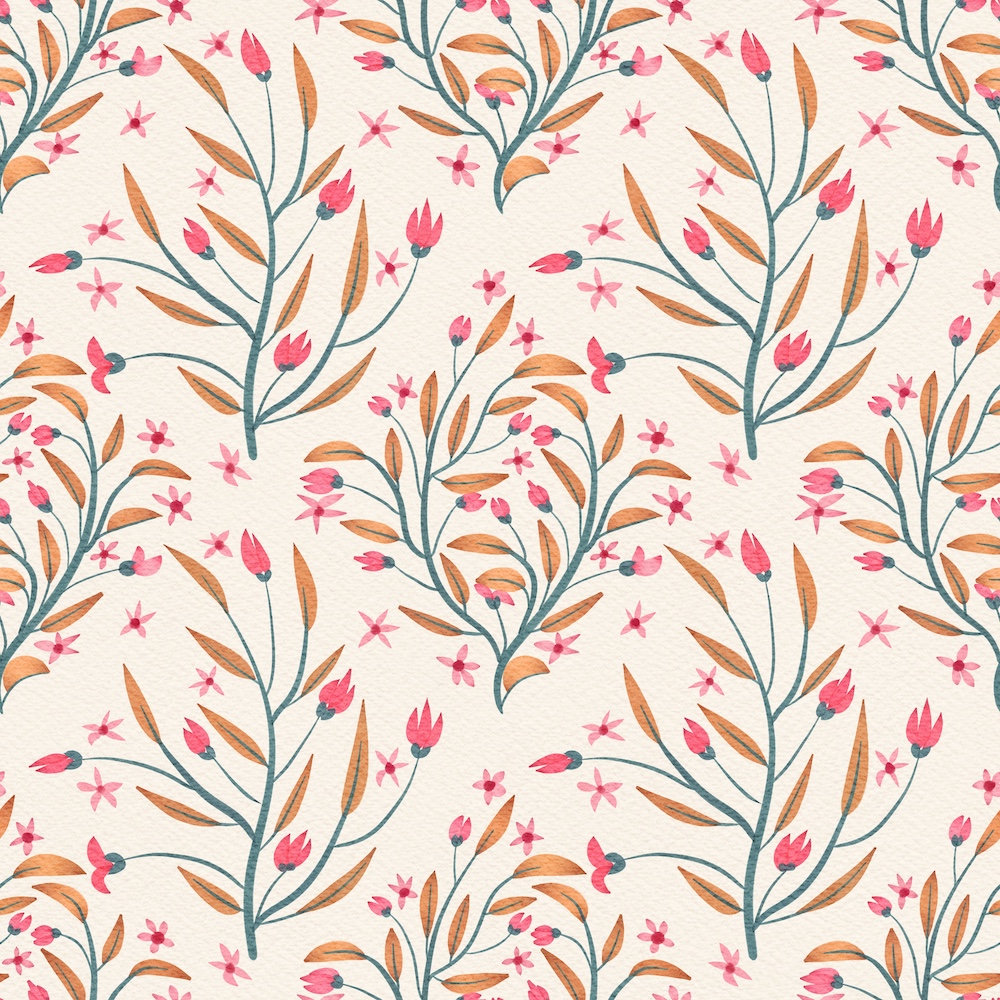
On my first attempt, the leaves turned out very pale.
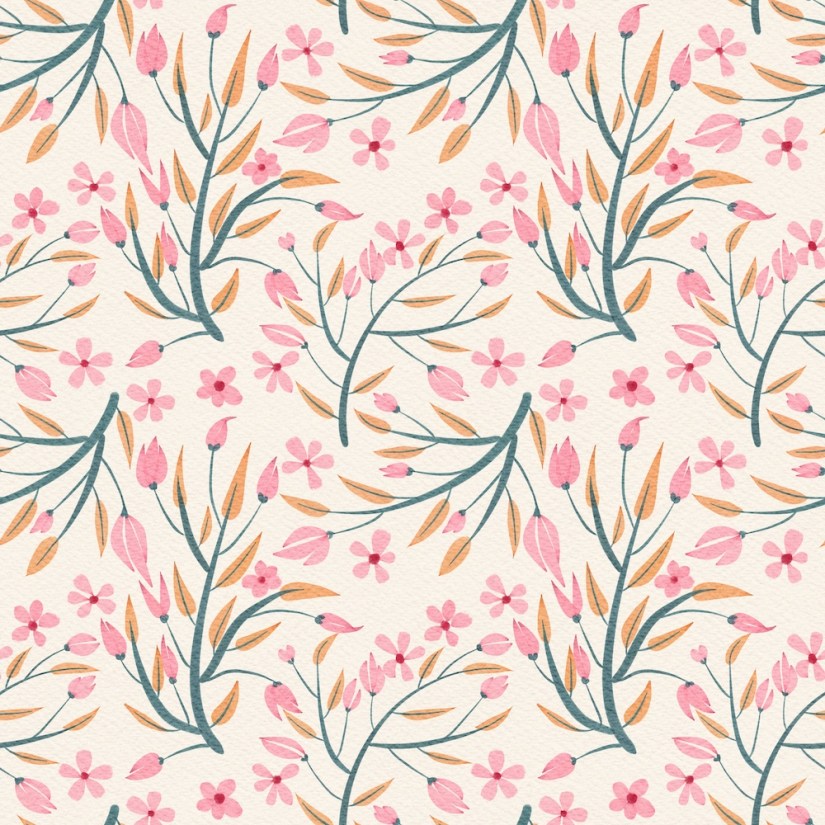
Luckily, I put different colors and elements on separate layers so I could simply change the color and remake the pattern.
Looking at the pattern, I realized that what I was really wanting was a more scattered, spaced-out look. So I tried again.

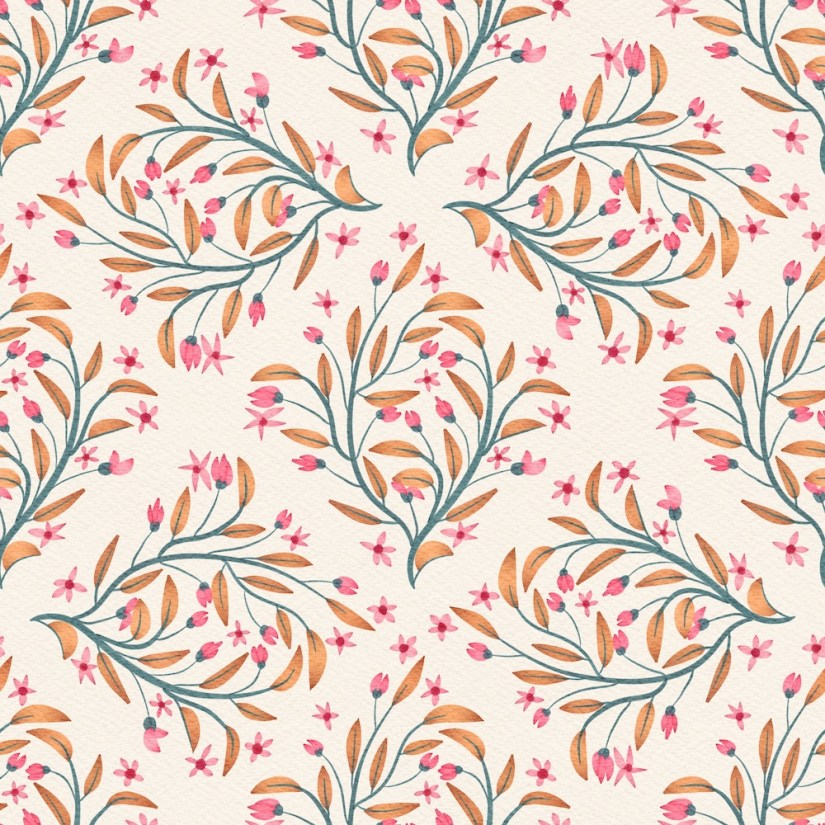
That was much closer to what I was imagining, but then I wondered if I could achieve the scatter with a diamond pattern.
As I looked at it, I liked the diamond pattern, but didn’t really like the look. I tried rotating the second inner motif ninety degrees, but still didn’t quite like the result.
So I thought about creating a more interesting and less obvious pattern using only the original diamond motif instead of adding the second diamond, obvious in the above illustration. I created the outer border with the original motif, then, using that motif inside the border, I rotated that motif, duplicated it, and flipped it horizontally. I copy/pasted the resulting squares and arranged them into the new pattern.

I like the way this turned out– it’s still not as scattered as I intended, but I do like result.
Finally, I used the diamond pattern idea to create a new, more scattered design.
What I did to achieve this pattern was to create the outside border of flowers with the initial diamond motif. Then in the inside of the resulting bordering diamond, I painted a second motif, but rotated it four times, saving each rotate and its outside border by using the “copy all” and “paste” process. I then reduced the size of all four “squares” and placed them into the final design arrangement. Here I circled the four rotated motifs in the final design:
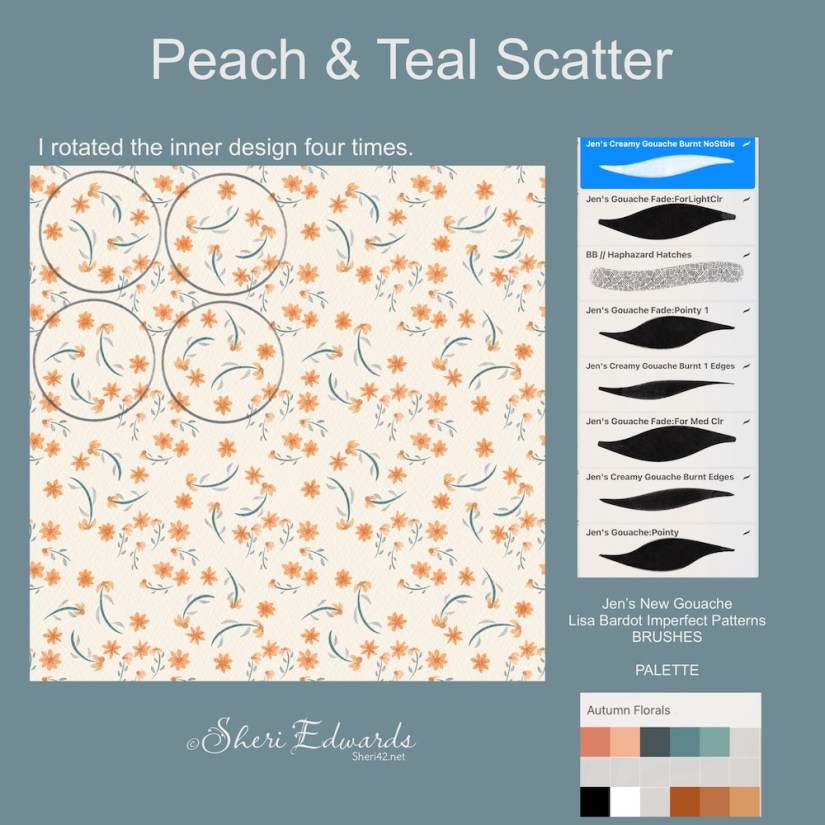
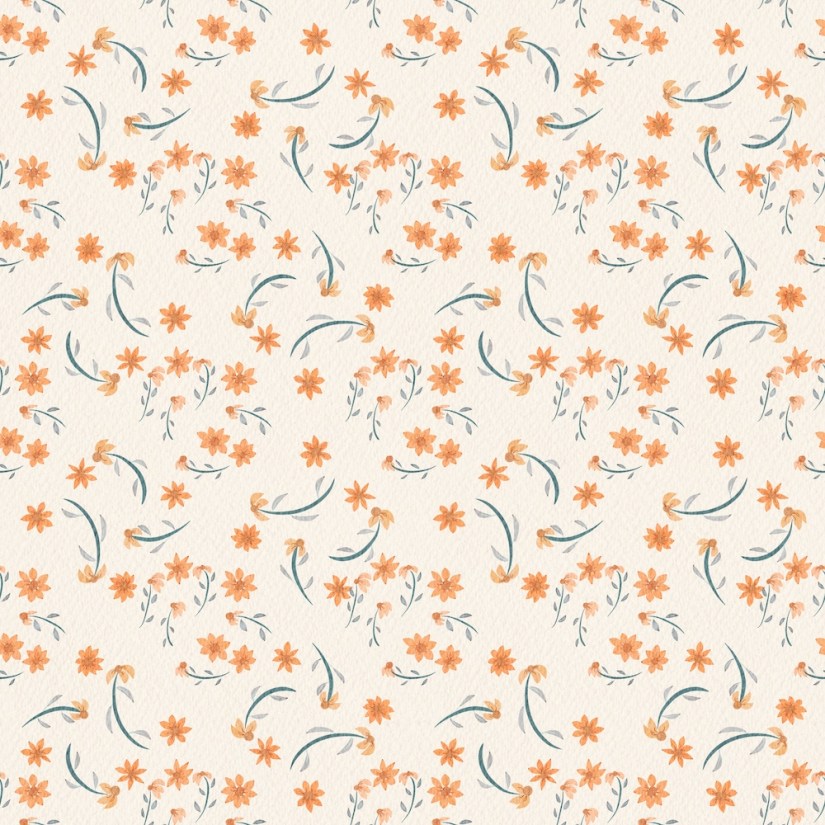
I like it, even though the second motif is larger than the original motif. It’s a more scattered effect, which is what I wanted.
Next Steps
My next steps are to duplicate the last pattern and redo the second motif to match the size of the original and then start playing with the brushes for color differentiation. I’m excited about that part.
If you watch Jennifer Nichols [Leila and Po Studio — affiliate link] “Live Lesson” “Flowy Fall Color-Changing Gouache Pattern,” and like what you see, click the link to learn more about her membership or sign up for her newsletters for her freebies.
Right now, I’m about to rewatch the part about adjusting color with the brushes. Watch this space for the results.
Thanks for stopping by!
