


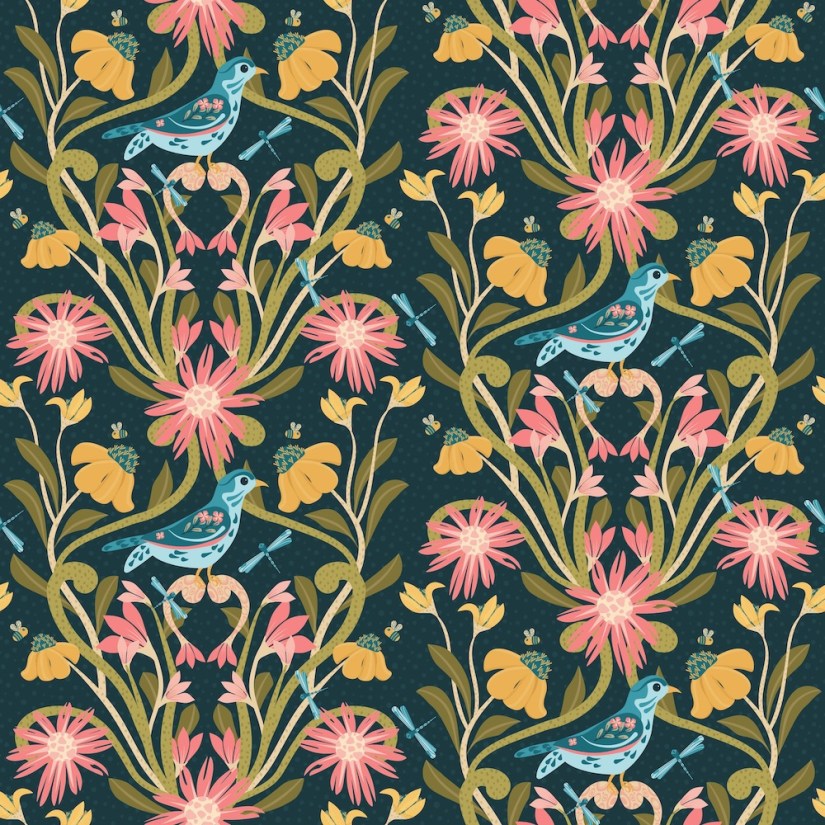
Symmetry and Drop Pattern
As you know I’m taking Delores Naskrents Affinity Designer MasterClass to learn more about the tools in Affinity Designer. The bird, florals, and leaves here area all created with vector tools.
What an important class. Not only did we learn to create a reflective template so that we only needed to draw on one side and the motifs automatically display/repeat on the opposite side, we continued practicing the stroke width tool to create motifs, as well as to reuse motifs from our asset studio that we had used before. The bird, bee, and dragonfly I created for this illustration are now in my asset studio so I can reuse them. Actually, as I look now at the design, I realize that several of the flowers I reused from my asset studio have been updated with more detail, so those need to be added to my asset studio too.
When reusing an asset, it’s easy to open up its layers and recolor to fit the new illustration and to add to or revise the motif. Super quick.
Just a reminder: for motifs, the stroke width made the creation of repeated leaves and petals easy. After the strokes are created to be petals or leaves, expand each stroke [highlight all to expand at once], and add them together into a curve shape to which can be added textures and patterns to add interest in the design.
Since this is a drop pattern, the motifs on the edges need to be duplicated and dropped half way to make the drop pattern match up. You can see this in the dragonflies in the vertical center and in the yellow flowers just budding out in the same area.
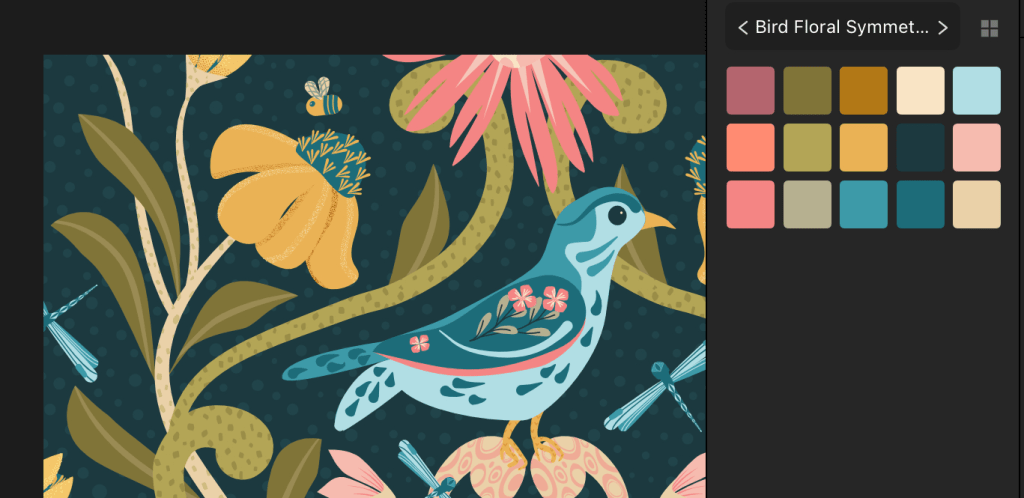
I’m also using a limited palette:
I love the drop pattern because it’s harder to see the tiled motif; it’s easier in this tile because of the symmetry. On to the next lesson…a double reflection.
