


Vector Succulents
As you know I’m taking Delores Naskrents Affinity Designer MasterClass to learn more about the tools in Affinity Designer. In this class, AD 39, we learn more about drawing with the vector pencil to create four forms: an outline; a solid background; just the insides of the outline with no outline; a solid beneath the outline to create an outlined shape. Create these with vector actions and boolean logic combinations, like this:
Part 1
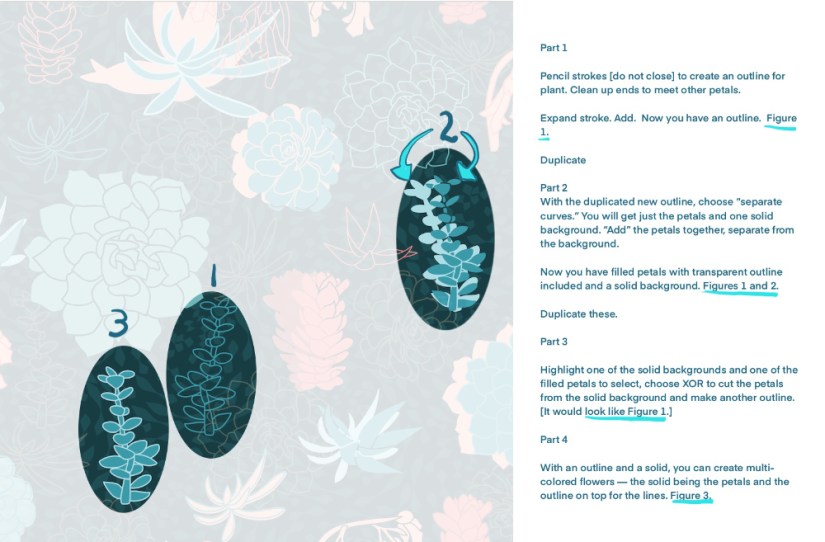
Pencil strokes [do not close] to create an outline for plant. Clean up ends to meet other petals.
Expand stroke. Add. Now you have an outline. Figure 1.
Duplicate
Part 2
With the duplicated new outline, choose “separate curves.” You will get just the petals and one solid background. “Add” the petals together, separate from the background.
Now you have filled petals without outline and a solid background. Figures 1 and 2.
Duplicate these.
Part 3
Highlight one of the solid backgrounds and one of the filled petals to select, choose XOR to cut the petals from the solid background and make another outline. [It would look like Figure 1.]
Part 4
With an outline and a solid, you can create multi-colored flowers — the solid being the petals and the outline on top for the lines. Figure 3.
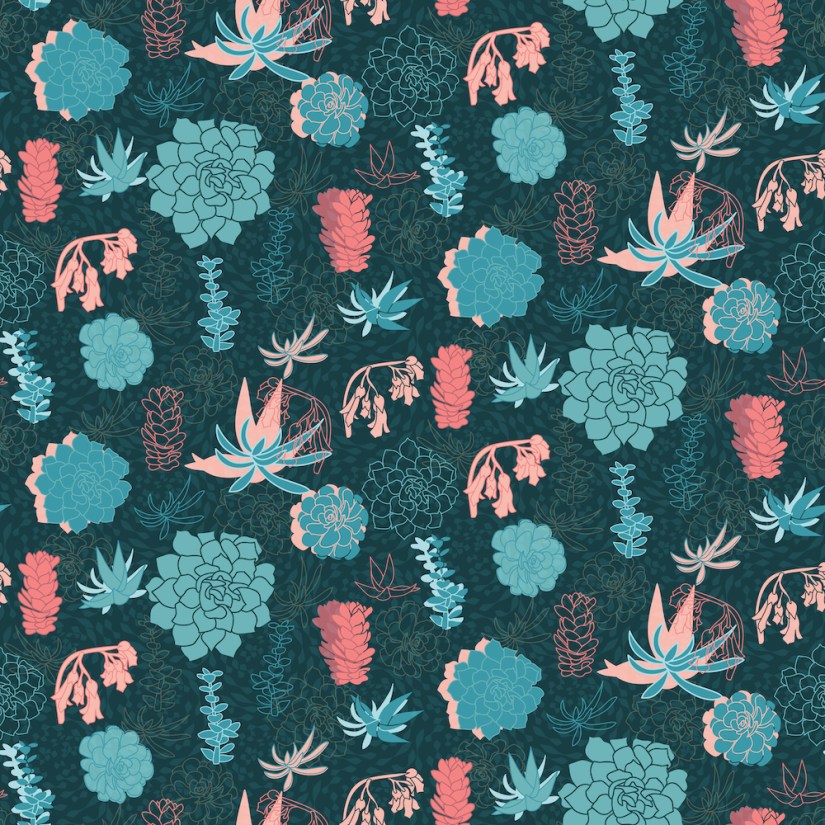
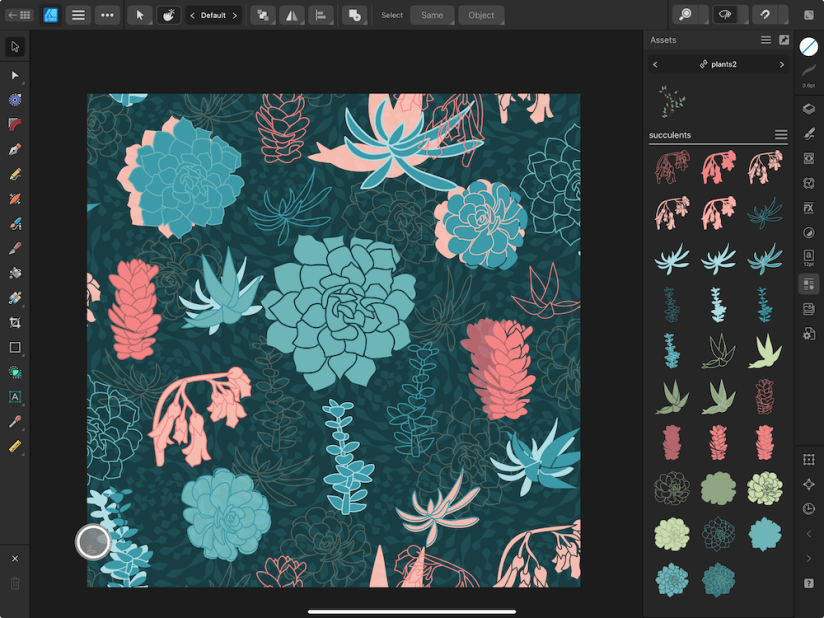
Following those steps is how I created all these motifs for my asset studio:
Then we organized the motifs into a pattern, adding a unique background to bring it altogether.
What did I learn? Affinity Designer tools are not difficult, but are amazing and fun to create with.
