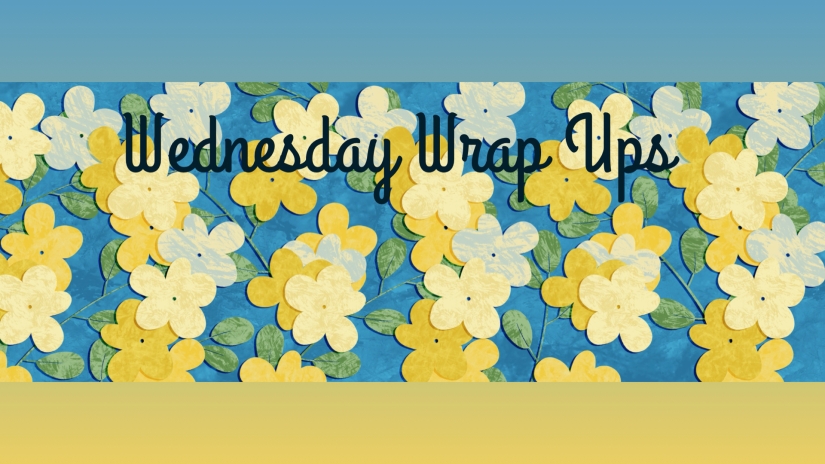


Welcome!
On most Wednesdays, check this blog for a strategy, process, or reflection for illustration with the iPad app ProCreate or Affinity Designer. I’m taking Delores Naskrents Affinity Designer MasterClass to learn more about the tools in Affinity Designer. This week I engaged in three classes from the MasterClass.
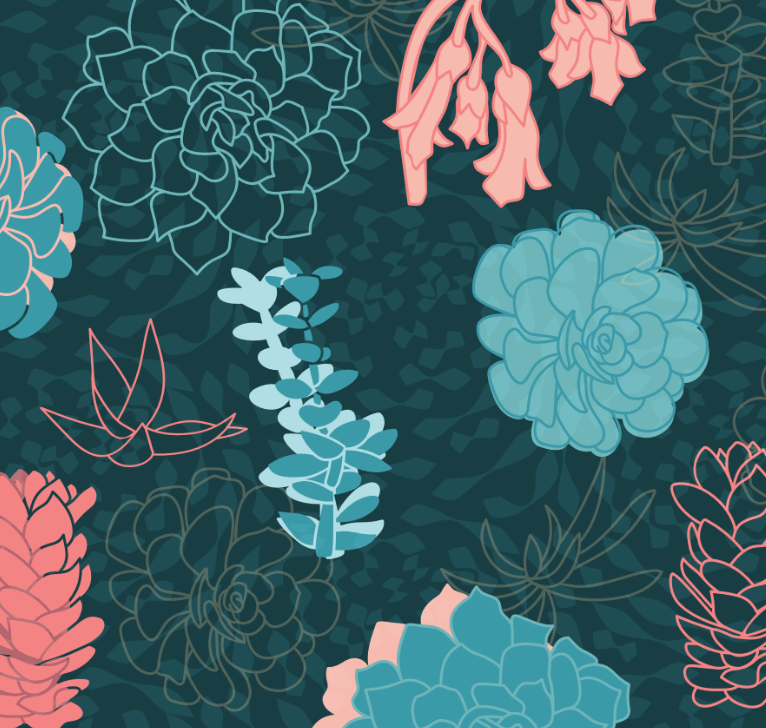
AD 39 Succulent Vectors
In this class, AD 39, we learn more about drawing with the vector pencil. In this image you can see the four forms we created: an outline; a solid background; just the insides of the outline with no outline; a solid beneath the outline to create an outlined shape. Create these with vector actions and boolean logic combinations. Steps provided in the post: Vector Succulents by 4.
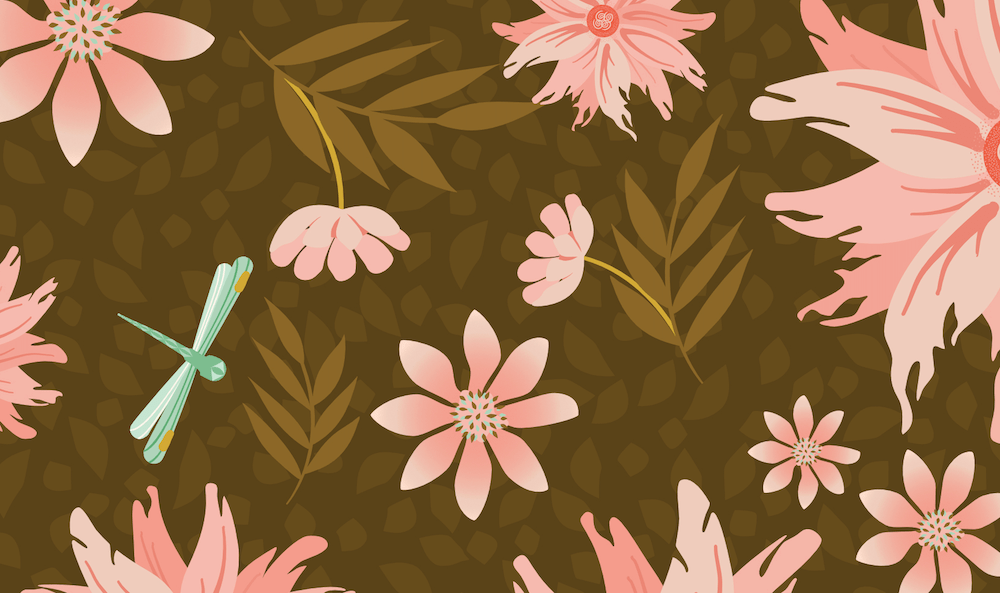
Quad 43 Half Drop Frilly Pinks and Dragonflies
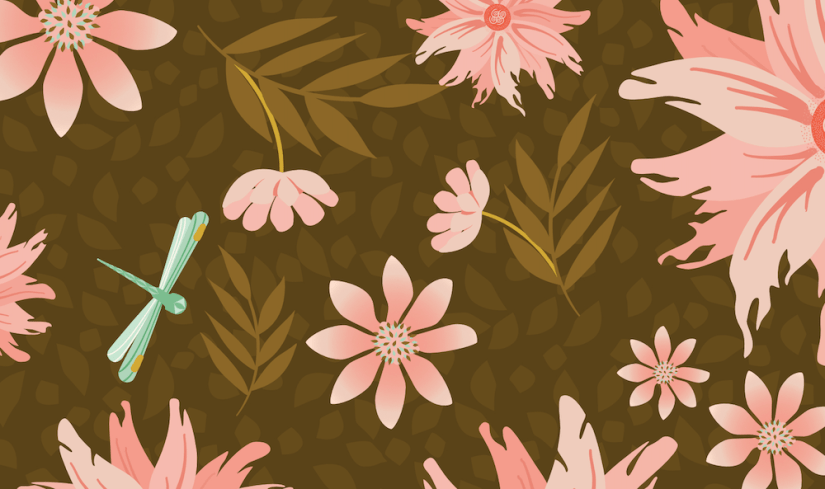
In this scatter pattern, notice that not only do I have a limited palette, but also limited motifs that are scattered all over, rotated and flipped, with different sizes to create a scatter pattern. I simply plopped a motif into the template in the large flower area, and all the large flowers in the pattern were automatically flipped or rotated, replicating the one motif I added to the template. I repeated this with other motifs of different sizes, according to the template’s naming protocol. This makes pattern making so easy. Of course, the class also included time to create the motifs to add to our asset studio. You will also notice the background fill with lowered transparency to simply fill in the spaces. Read the post: Half Drop Frilly Pinks and Dragonflies.
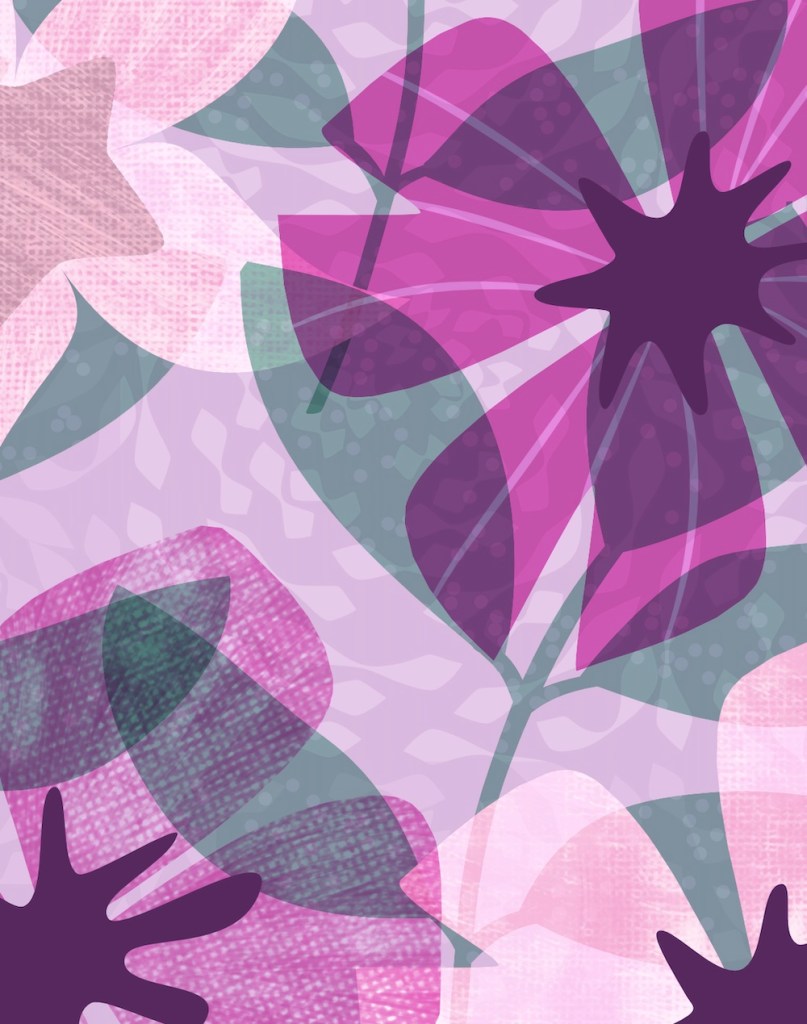
AD 35 Transparent Layers
This lesson was about how to create transparencies in the layers and using pixel textures, which aren’t scalable. And we experimented in our designs with different blend modes for the different layers. I choose multiply, overlay, and screen. The blend modes added the transparency to the design, adding depth to the pattern. In the close up you can see the pixel canvas texture and vector lined texture on the purple petals. You can see through the petals and leaves to the background texture. For more about this piece, see Transparent Layers.
Thanks for stopping by!
Delores keeps us learning with her engaging Affinity Designer lessons in her MasterClass. I thank her and appreciate her specific and helpful tips, strategies, and organizational planning. I’m glad to learn the versatility of vector tools, and the ability to create different pattern formats as well as textures and transparency for backgrounds and motif effects.
If you have any suggestions or questions, please share and ask.
You can find many helpful artists teachers on my Artist Resources page. Take a look at their IG and YouTube. Find one that fits your learning and art preferences and stick with them a while to develop your skills. Every day, another aha!
You’re welcome to follow this blog for art inspiration. We can share with #warmup4art to enjoy our work together! I look forward to your sharing and find me at @42Sheri, on Mastodon Sheri42, on Flickr teach.eagle Sheri 42.