


Patterns: not easy to create, yet so refreshing when the trial succeeds!
One of my granddaughters loves shades of browns and shades of grey– ever since she was little, and now she has a little one of her own: Being Wife and Mama.
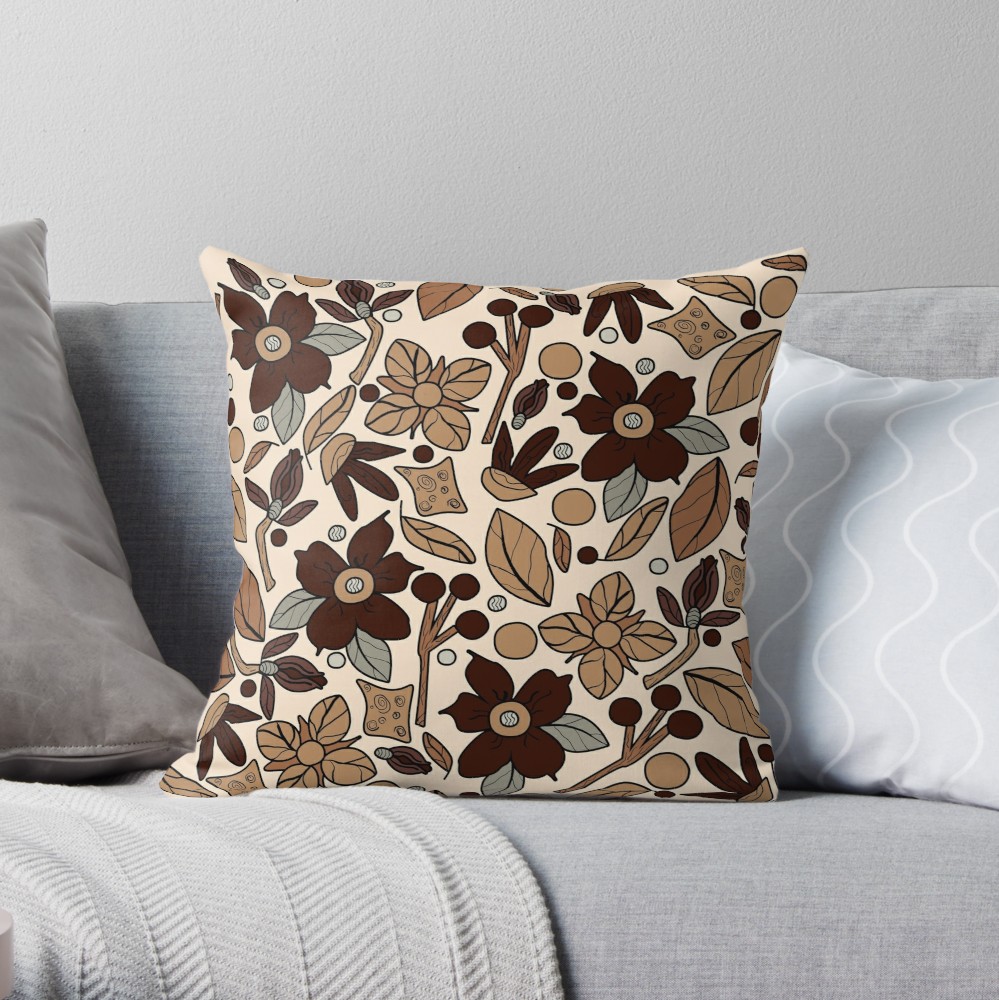
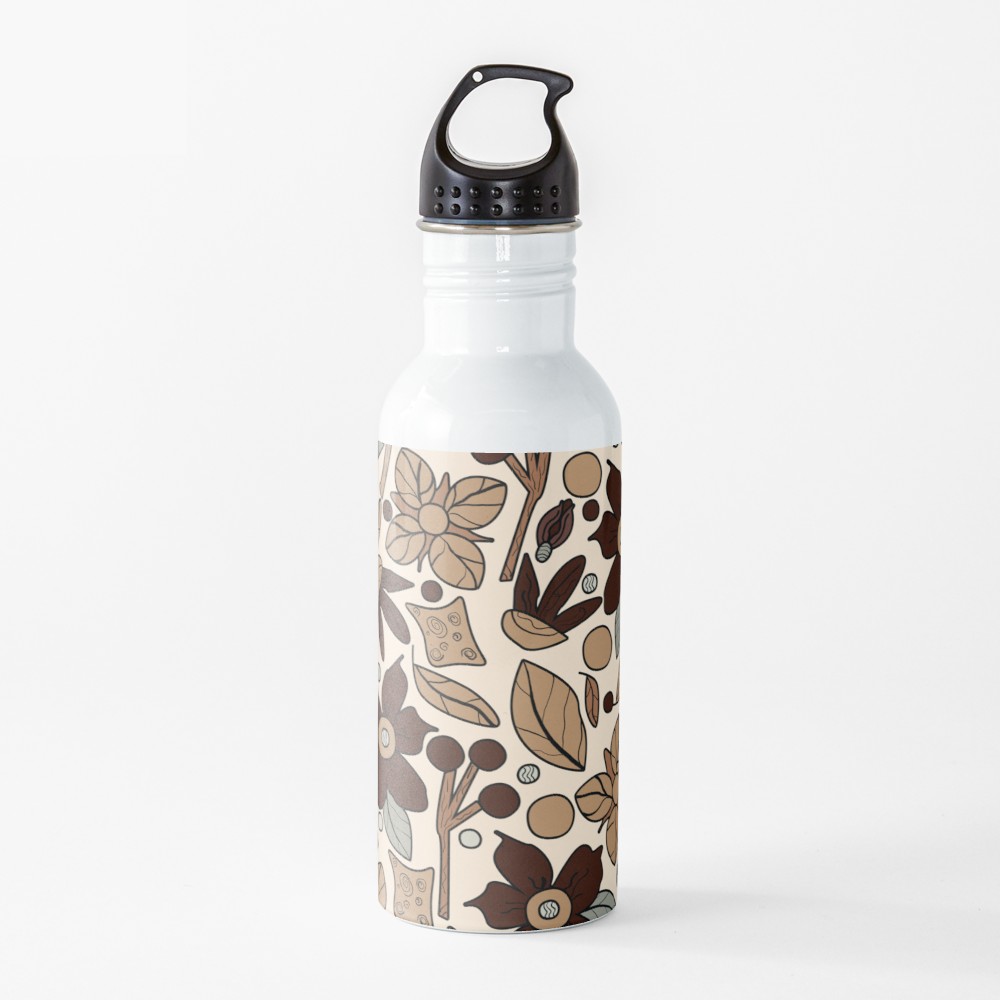
So my lessons yesterday and today resulted in this throw of browns, with a touch of linen sage, another in my Floral Delights collection. If you want to find great color combinations, try the Adobe Color site or check out 101 Color Combinations by the Shutterstock Blog. I chose “Western Wear.”
The Affinity Photo app allowed me to learn the pen tool, a brush application, wrap around placement for the pattern using math!
I started out with a simple set of floral designs, which I scanned in and used Apple Preview to eliminate the white background.
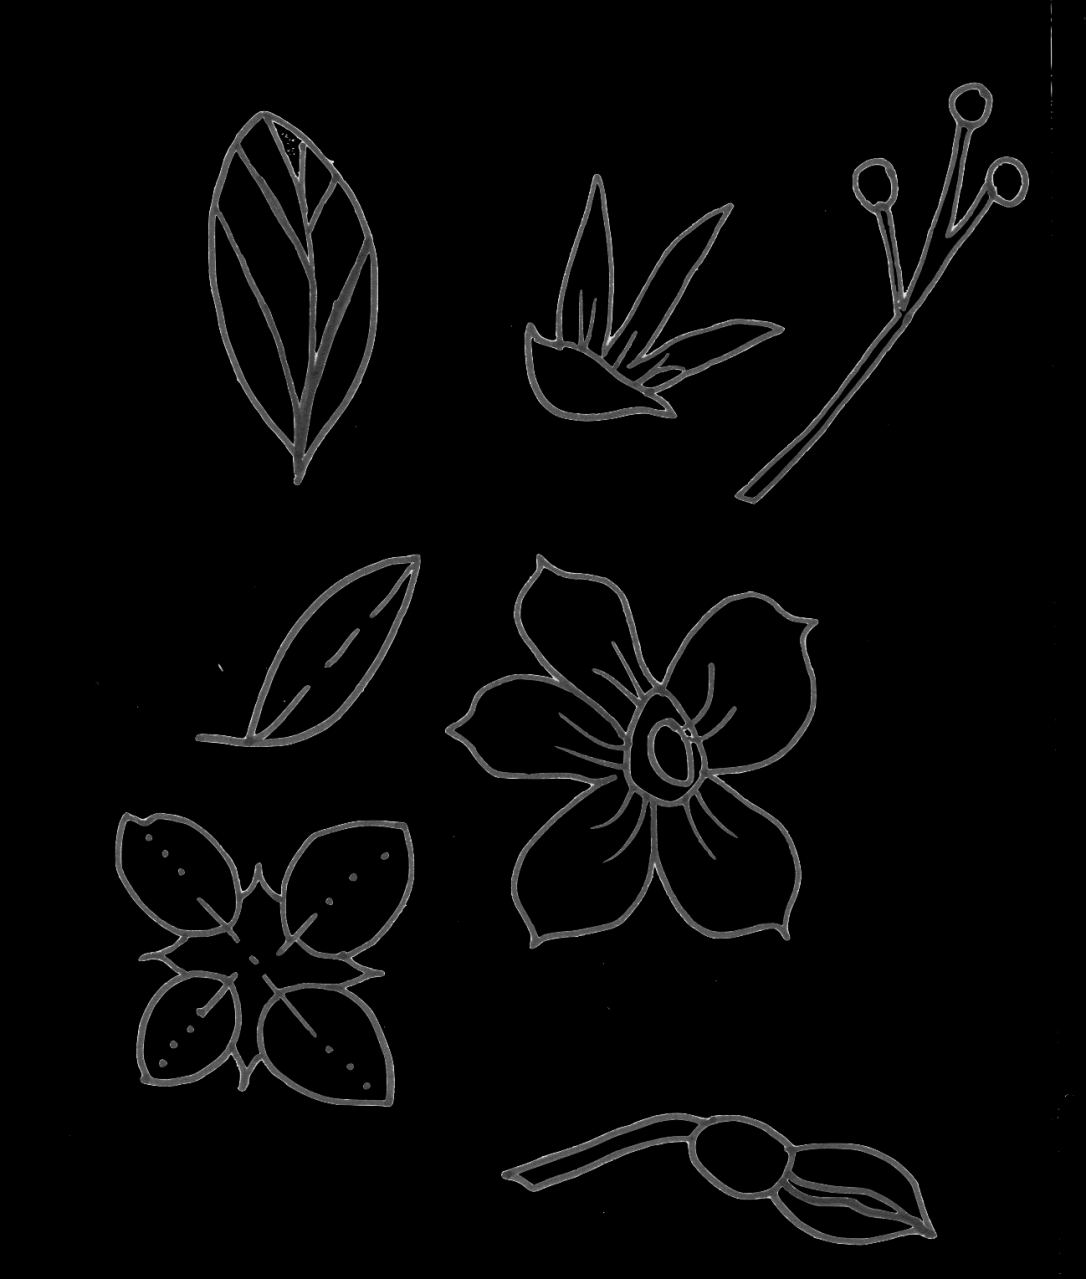
First I traced each area that would be filled separately and filled them with the colors in my palette; the outline is black for consistency and a little fun effect.
So for the five petal flower, I traced the petals, then each circle in the center. I place those into a group.
For the four petal flower, I traced one petal, then copied it three more times to arrange them like a flower and grouped those together. Then I traced the sepal shape below. Those became another group.
I repeated that process of tracing each fill area separately, then grouping each whole shape together. This keeps each part separate so I can easily change colors [tomorrow].
Next I used black with an inking brush to create the leaf veins and the petal lines. Each I did separately and added them to the appropriate group.
I also created some fillers — some colored circles, the inner circle of the five-petal flower, a single bud, some small leaves.
I created the pattern, copying and pasting groups of elements and arranging them to fit neatly.
Finally, I added the connecting elements. Scary. Frustrating. I can do the horizontal elements to match up, but I just struggle with the vertical ones. First I changed my canvas size from pixels to inches: 20 x 20. Then I placed an element on the left edge and noted it’s location:
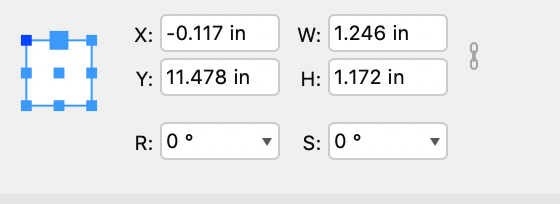
I duplicated the shape, which places it on top of the original.
Then I changed the X factor by adding 20 inches to it.
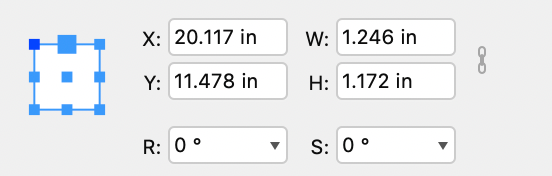
And Poof! It popped right over the right side of the artwork for an easy matchup.
Very fun!
I hope you try some patterns too and share your process.
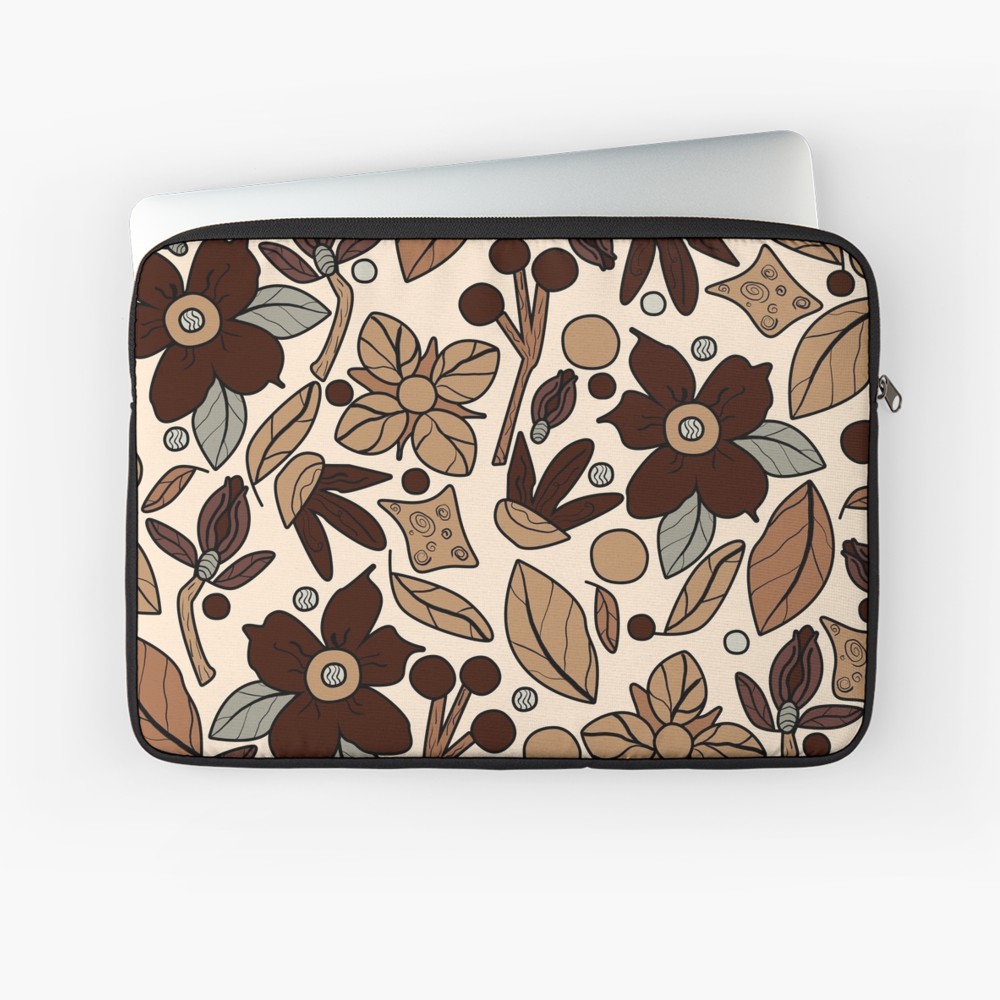
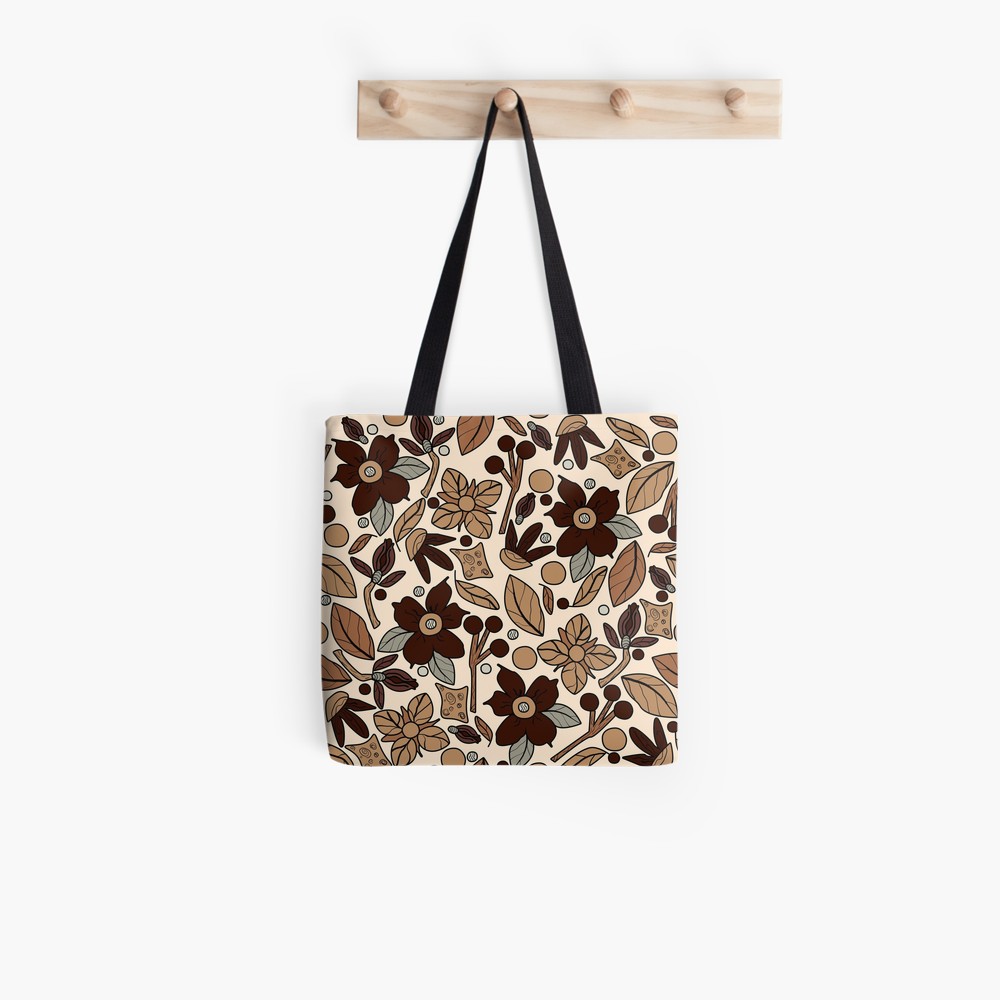
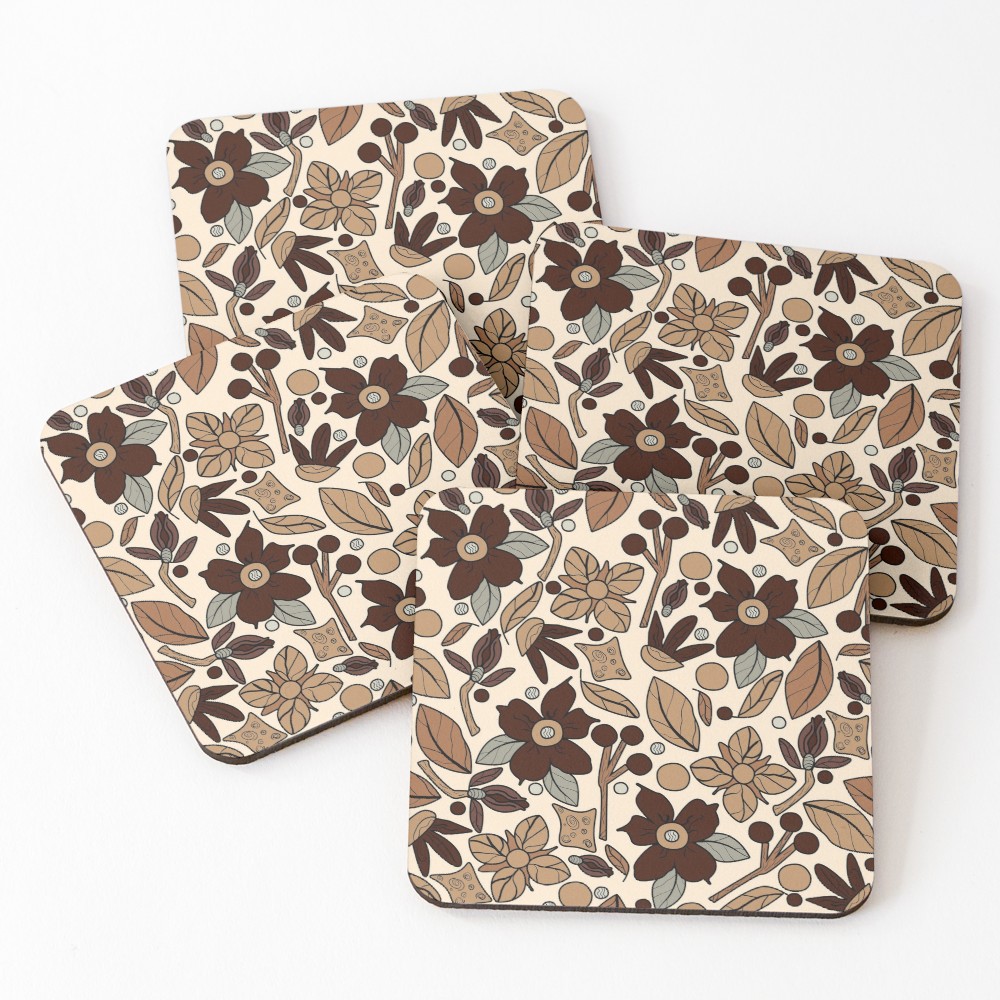
And enjoy these new products from the Sheri42 shop:
Just click an image to go to the shop!