

Welcome!
I’ve enjoyed sharing Wednesday Wrap Up— a wrap up of my project tips for the past week or something I’ve learned that may also help others with the same #warmup4art hashtag. Today I share a look at creating shapes for creating texture brushes and then their use in art illustration.
Texture
I love all types of illustrations — flat, midcentury, impressionism, comic, watercolor, etc. Each medium or type is easier with brushes that work like the medium. And, to add dimension, special brushes help create the highlights, shadows, and textures to create depth and a bit of realism. Procreate includes many awesome brushes just for this. For example willow charcoal, burnt tree, artists crayon, stipple, Hessian, etc.
Many of us Procreate artists also purchase brushes or find them in classes on Skillshare. For texture brushes, I’ve enjoyed brushes from:
- Jennifer Nichols [Website / Skillshare]
- Brenda Bakker [Skillshare]
- Lisa Bardot [website]
But sometimes you’re looking for just a certain look. And so you venture into making your own brushes. Procreate offers guidance:
- Procreate Handbook— See Brushes Section
- Procreate Brush Settings— See Attribute: Shape
And this week I found a class on Skillshare by Brenda Bakker [@dekwebbel on IG]: Fun with Textures using Procreate, Create your own Unique Canvas and More. In the class, learn how to create textures in both you canvas and your brushes. You can read about my project for this class here: Sheri’s Project.
Today I focus on the shapes I created for making my brushes. See the Procreate Handbook or Brenda’s class for the specifics, but here’s a wrap up of my efforts this week.
Creating Texture Brushes
I created this video to show the shapes I drew following Brenda’s class directions and what the brushes look like in use using various settings in the brushes. I used the Artistic Sassafras brush to make the shapes– and then created four brushes with different settings from each shape:
- a stamp brush
- a smooth, stabilized brush
- a pressure sensitive brush
- a color changing brush
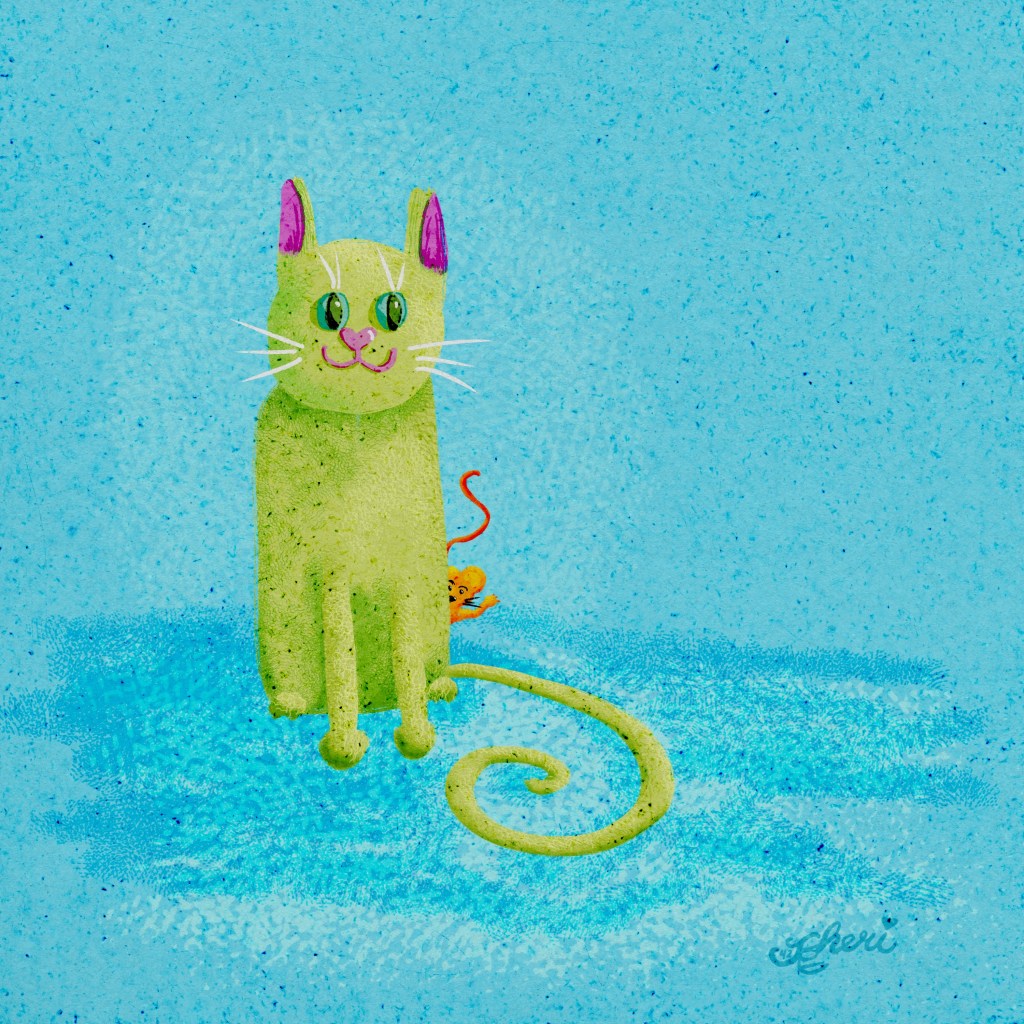
This week I’ve been illustrating using these brushes: Dry Ink details, Blackburn color fill, and my own texture brushes and paper. This video shows all of this. Remember to see the handbook or Brenda’s class for the specific howtos of inserting the shape in the settings to change the brush.
Try It
So, that wraps up this Wednesday Wrap Up. Use the Procreate Handbook or Brenda’s class to create your own brushes to fit your need.
Thanks to Brenda Bakker [Skillshare & @dekwebbel on IG] for her lesson and inspiration.
By learning from other artists, we build our confidence and learn to adapt and adjust without fear of being perfect— just make art every day!
I look forward to your sharing, and please continue to be a part of the #warmup4art series to learn and enjoy our work together! See my sharing at IG @42Sheri and Twitter @42Sheri.