

Welcome!
For the past few weeks, this blog has hosted “Wednesday Warm Up,”— a day of usually quick drawing, inking, brushing as warm up to our serious art. I share a strategy to try each Wednesday using the iPad app ProCreate. I only use the brushes in the app— there are so many I haven’t tried that warming up with a new brush will be an added bonus and challenge.
This Week
This week we’ll look at a fun way to create quick messages to share with friends on social media. I call them “Quick Splash Grid Messages.”
The Story
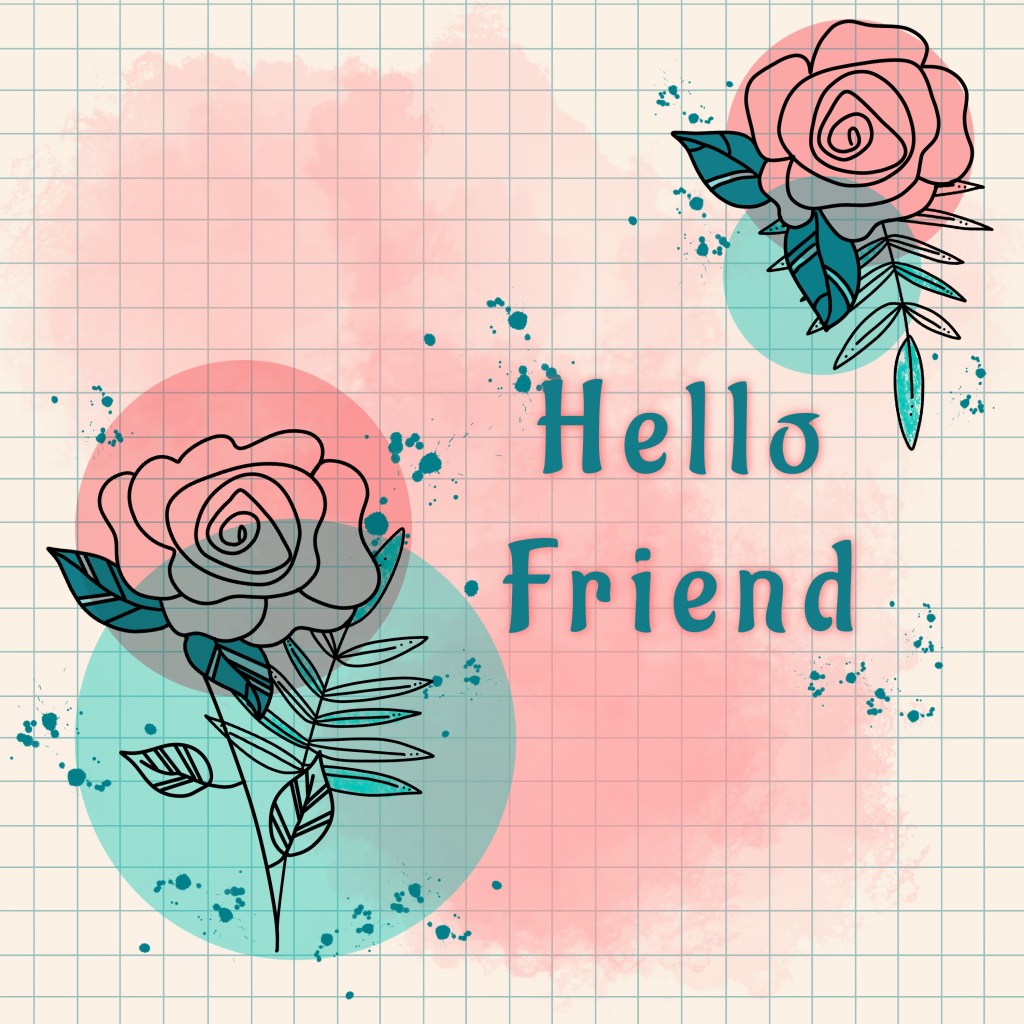
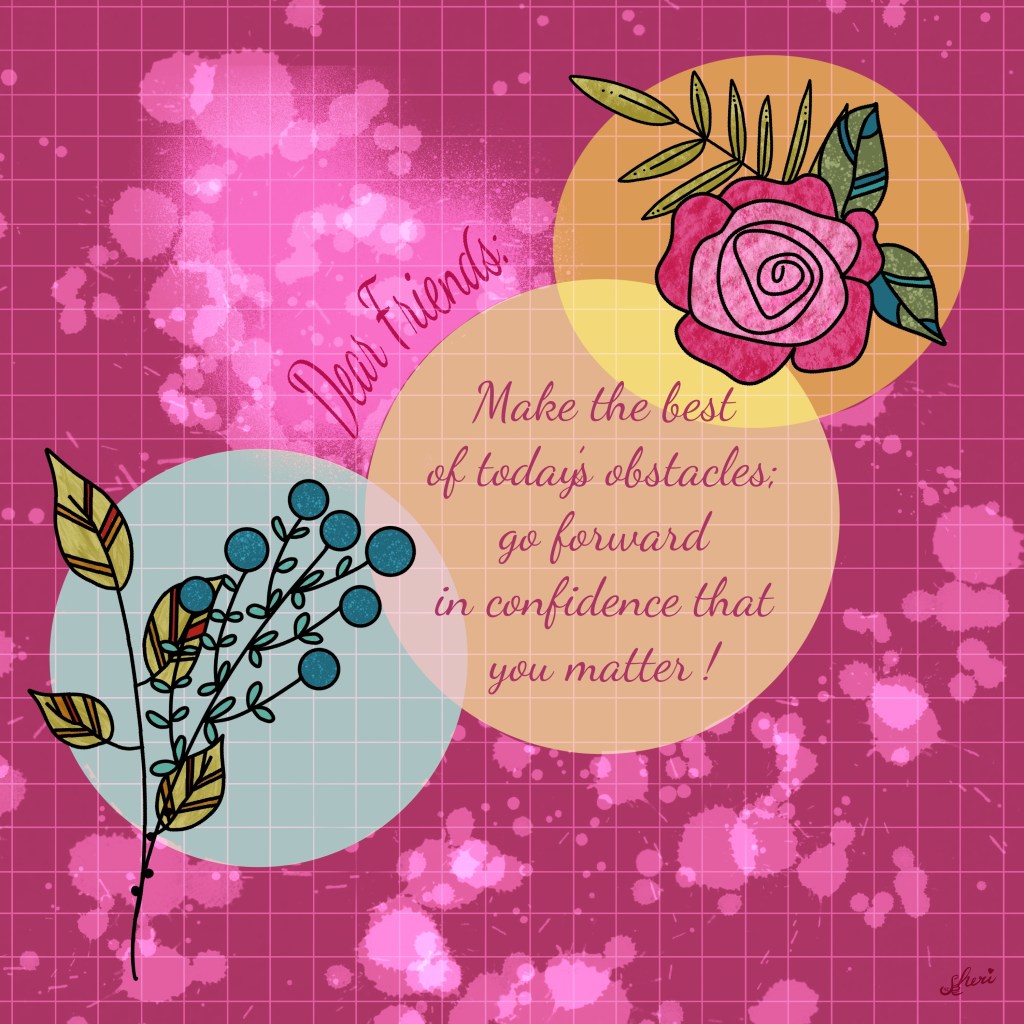
A friend sent me a digital postcard that included this image:
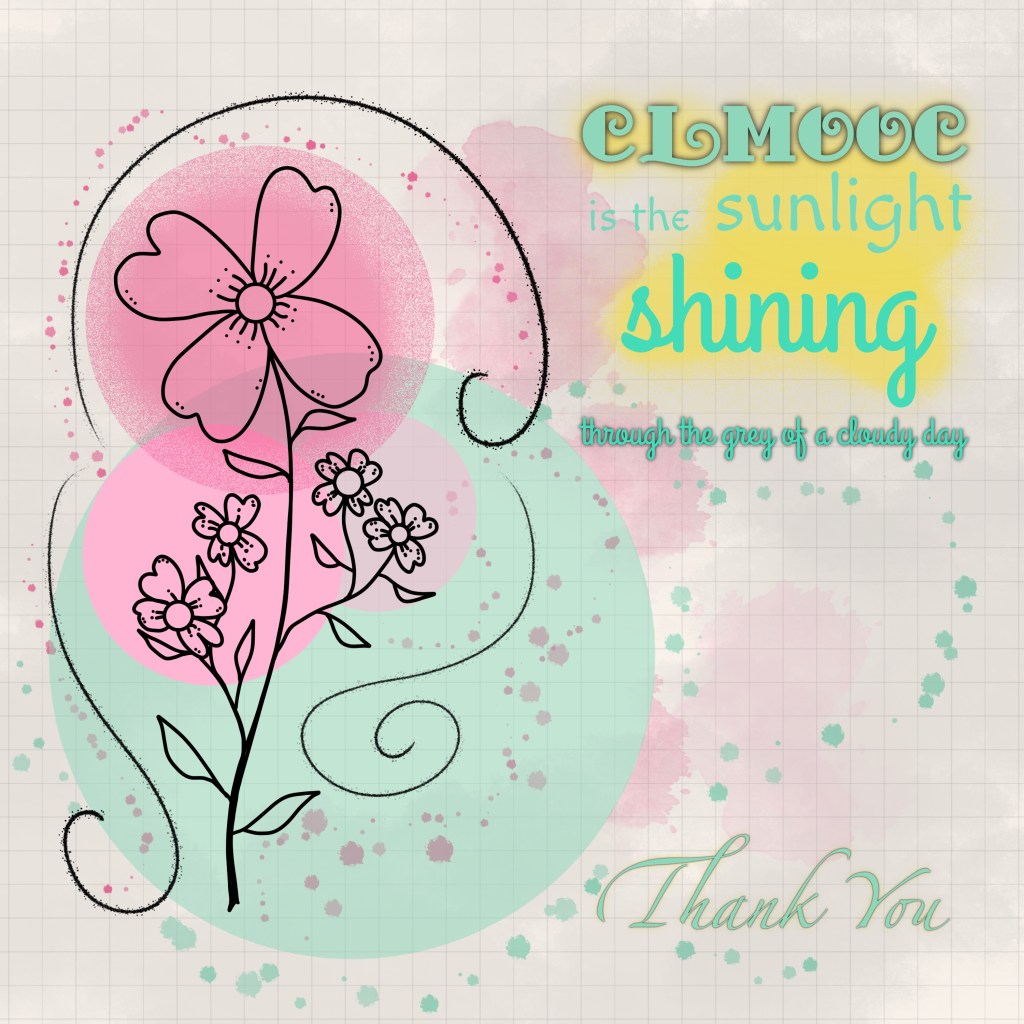
I thought that looked like fun, and I’d just taken Diana McDermott‘s Skillshare class, Procreate Doodle School! Episode 1: Botanicals, which provides ideas for drawing outlines for florals and leaves. So I had already created a set of florals. So, I created a Thank You for my friend and our group in that same style:
It was such fun, I started to create more to share. They are so easy, quick, and pleasant that I plan to “warm up” with these for quite a while. So, the warmup this week is the process for doing so. Enjoy!
The Process
Part One– The Outlines
There’s two steps. The first step is to create a document [10 in x 10 in at 300 DPI] with outline florals and leaves, each on separate layers for easy arranging. Just duplicate that document each time you want to start a new Splash Message. Once you’ve got that, you’re ready to start the warmup.
Part Two — The Splash Messages
The Set Up
With my floral outlines duplicated, I choose a palette. The canvas is already 10 in x 10 in at 300 DPI.

The Brushes
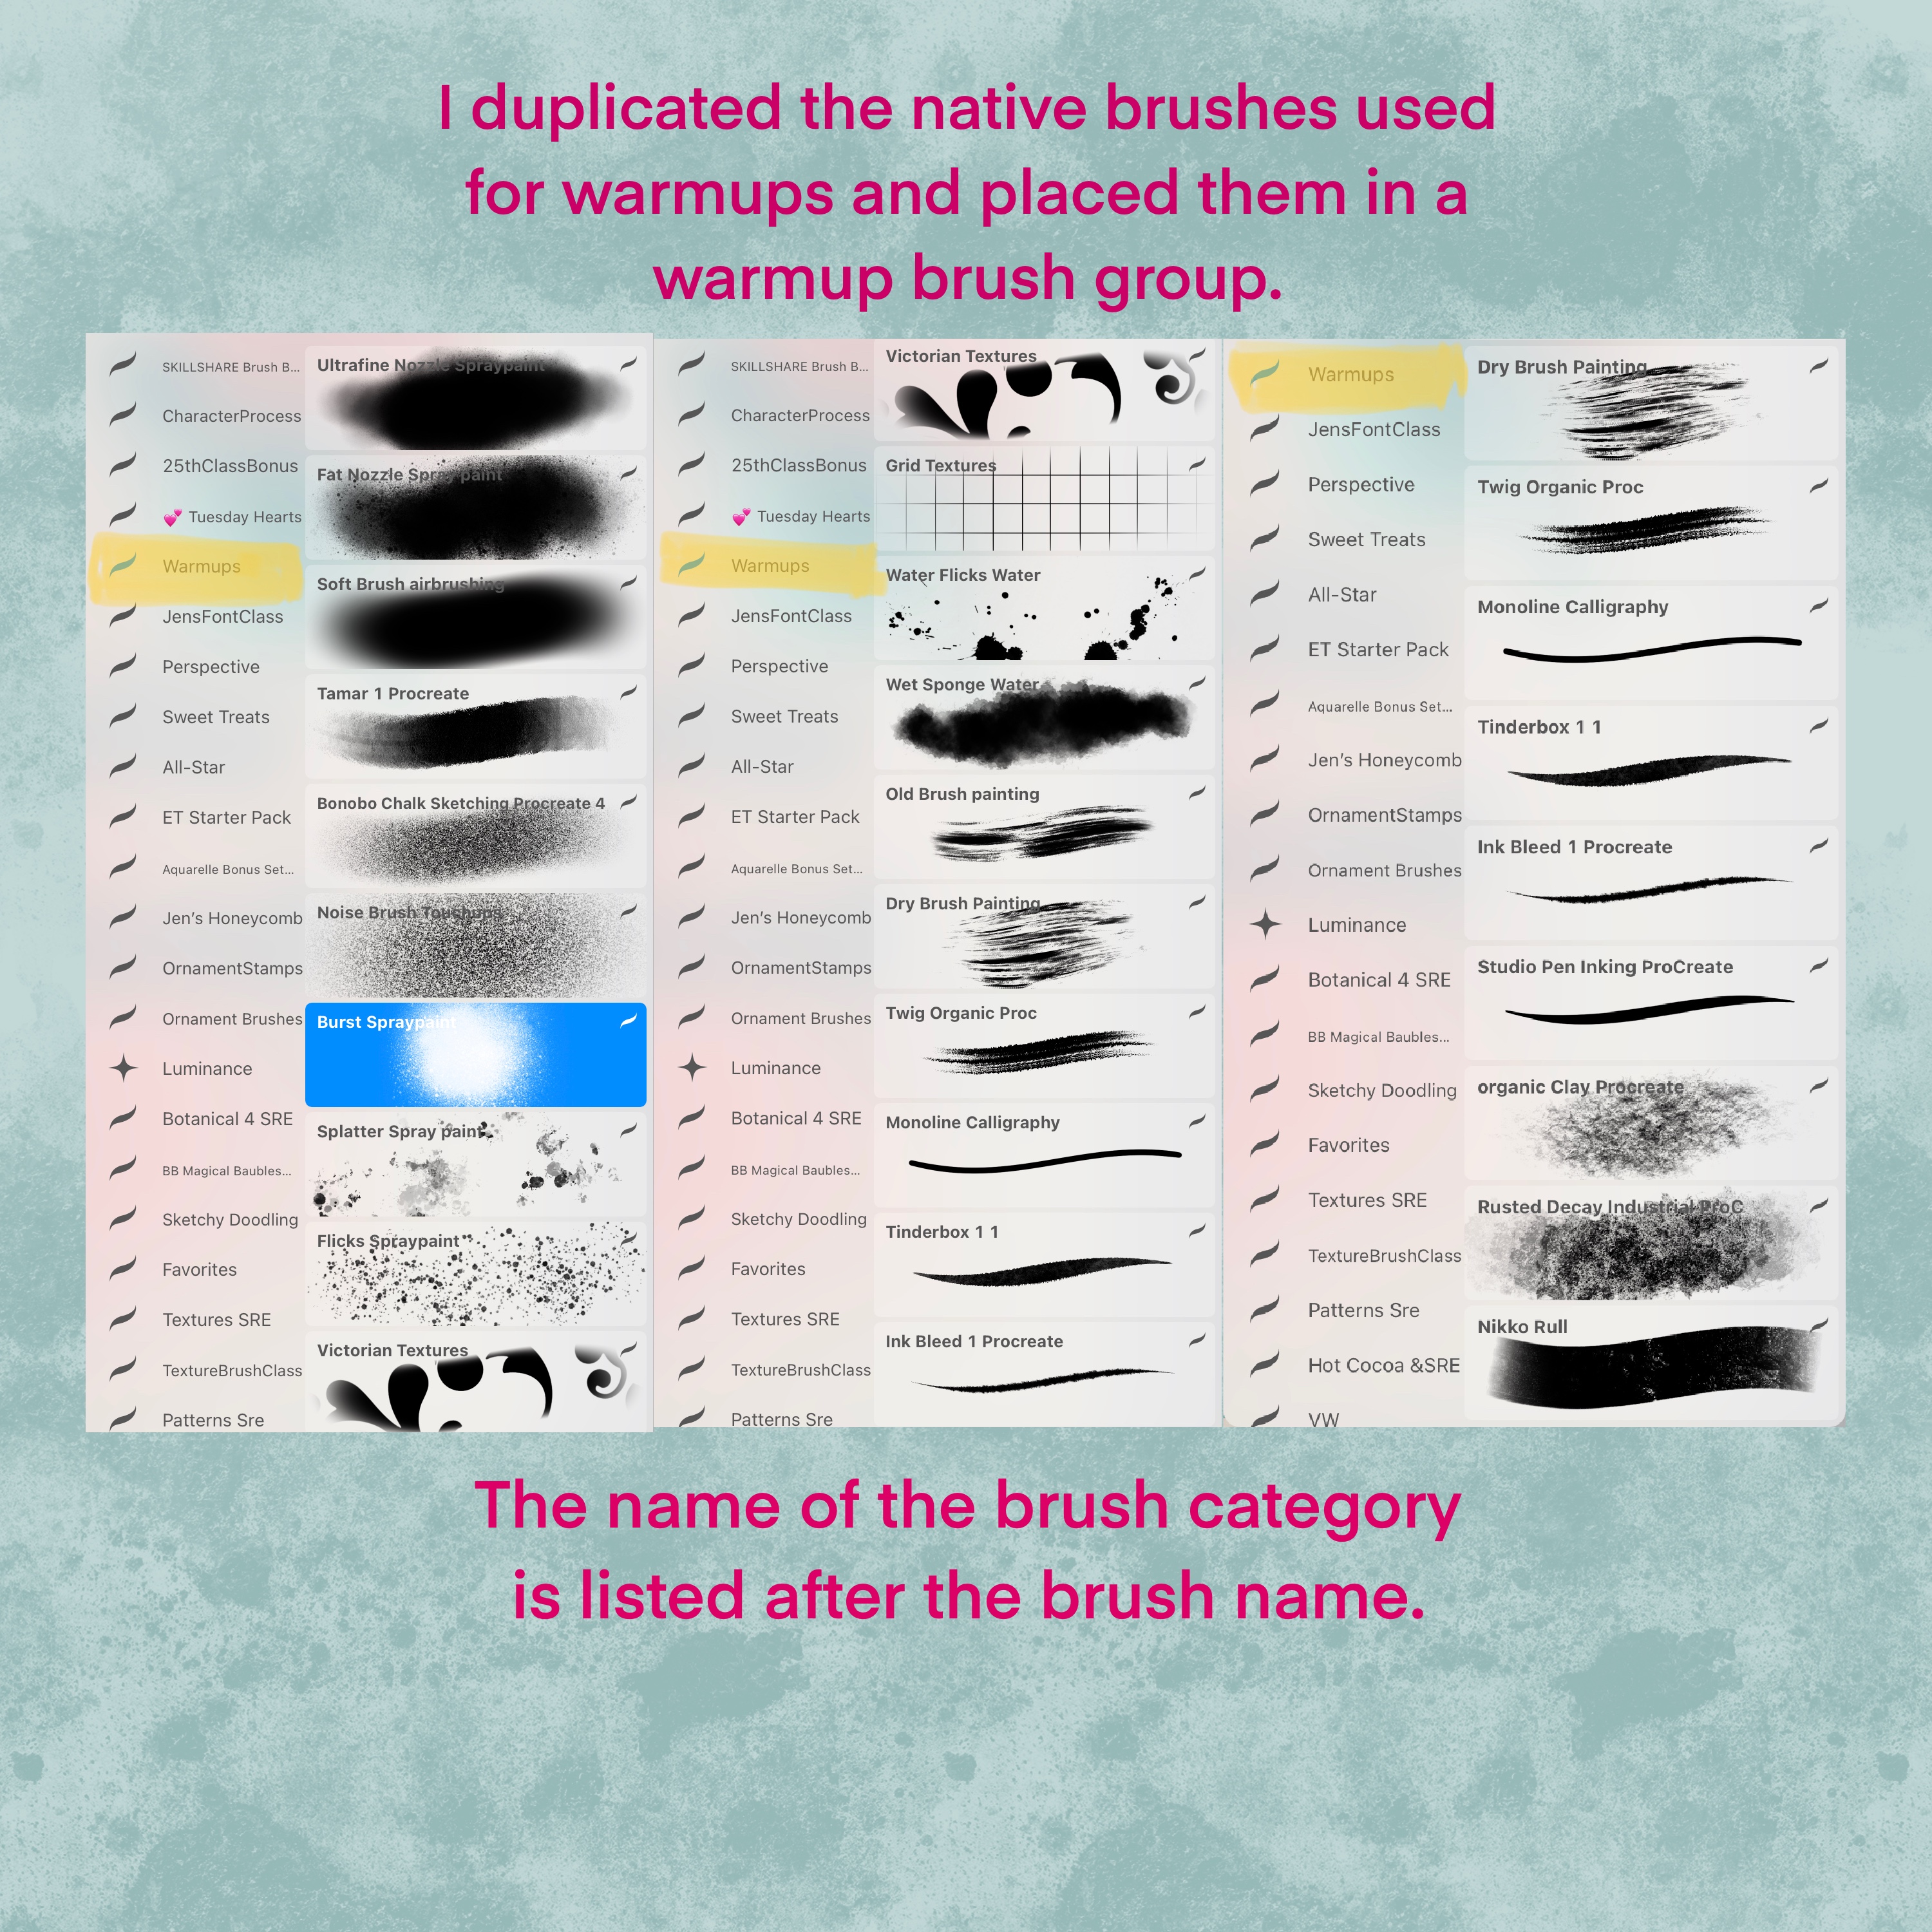
Click the image for larger view. If you look at the brush name, you’ll see it is followed by the category of brushes in which you’ll find the brush.
Decide on the brushes you’ll probably use. I chose these and Ink Bleed from Inking.

Steps
Select the background color.
Above that “paint” in the grid with the grid brush. Try colors and blend modes for different effects. I often use the same color as the background and then choose either “screen” for a lighter color or “multiply” for a darker color of grid.
Arrange the florals you’ll use in the corners of your canvas– erase any lines hidden when one image is above another.
Add circles of color below the outlines — I also learned that putting these circles below the grid works well too. Try different blend modes as well. In the green splash message below you’ll see that I erased the outside edge of the circle with the ink bleed brush for a more textured look. I also added texture with a clipping mask using the “clay” brush from the organic category.
Above the grid [or below may work], add “splashes” of color by “dabbing” — just tapping the “wet sponge” brush from the “water” category rather than pulling it like a brush.
Add color to the leaves [ink bleed or studio pen] and clipping masks for texture [ink bleed, clay, dry brush, rusted decay, noise].
Add your text. If you would like more fonts, find them at 1001fonts and fontspace. Just be sure to choose those that are in the public domain or that say they are “free for personal and commercial use.” Otherwise you need to pay for a license to use them. You may want to take Jennifer Nichols Typography class on Skillshare for ideas on using fonts for your projects in Procreate.
You can duplicate your text file to create an outline or highlight below your original text. Move the duplicated layer below the original. Alpha lock it to change the layer’s color to one that will be a highlight behind your original text. The color depends on your background and original text color. Then apply a small bit of Gaussian blur so that it outlines or shadows your original text to draw attention to it.
Add Water Flicks from water category or Flicks from spray paint category. Place them randomly around the text, splashes, and florals for the effect you want.

Do enjoy your day creating these Splash Grid Messages! Please remember to share #warmup4art .


10 thoughts on “Wednesday WarmUp Quick Splash Messages”