
Welcome
On most Wednesdays, check this blog for a strategy, process, or reflection for illustration with the iPad app ProCreate or Affinity Designer. This week I struggle with creating renaissance style projects in Affinity Designer. It’s easy to use Affinity Designer, but getting something I like in renaissance style is quite another issue.
Inspiration
I loved making my hydrangea design, even though I am still working on one I particularly like. But it’s frustration is that in Procreate the size I created it as, is the size it will always be. So I decided to try designs in Affinity Designer again, especially since Liz Kohler Brown provided a live draw on using Affinity Designer from sketch to final, sellable product: Sketch to Final Live Draw in Affinity.
First Try
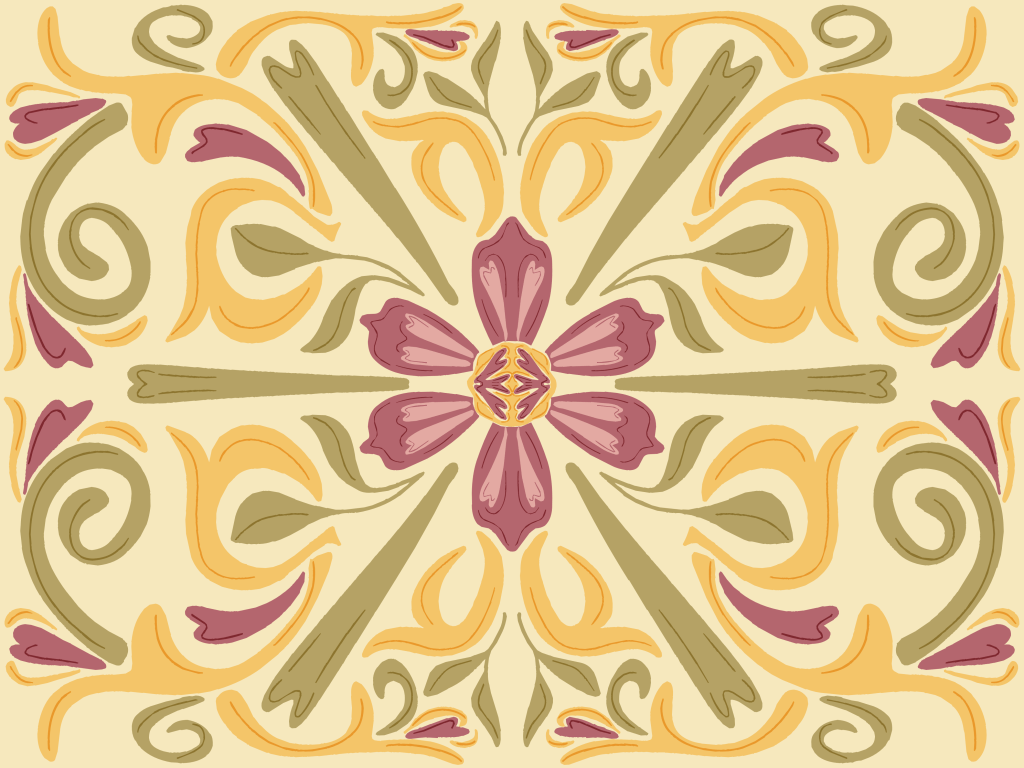
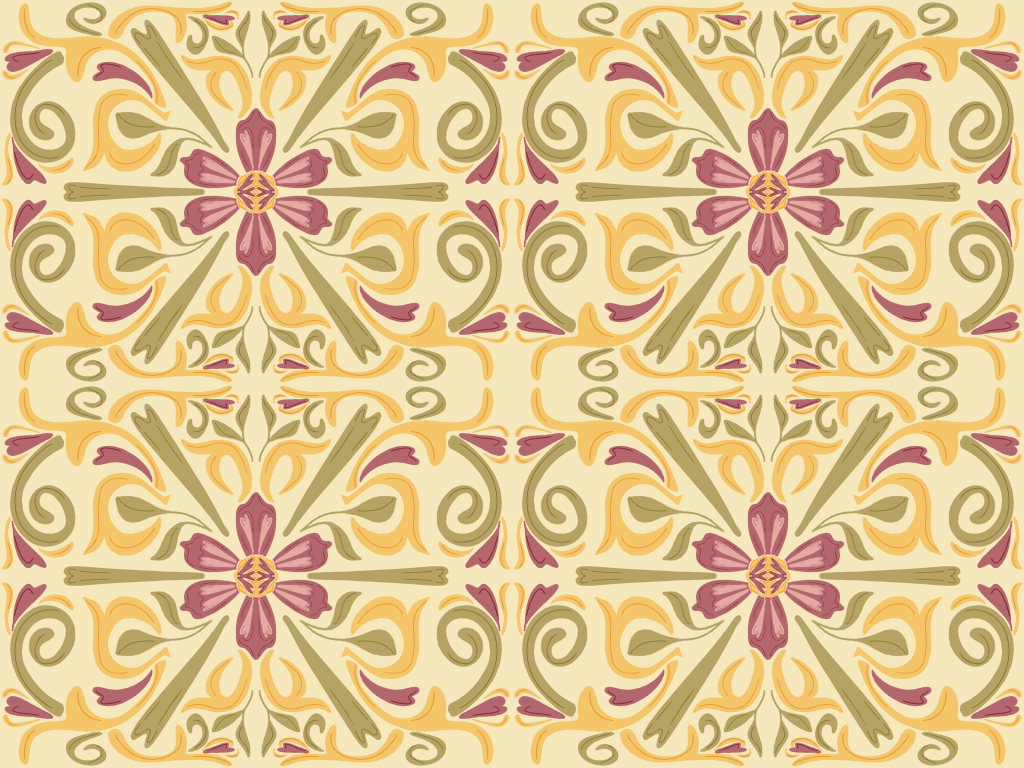
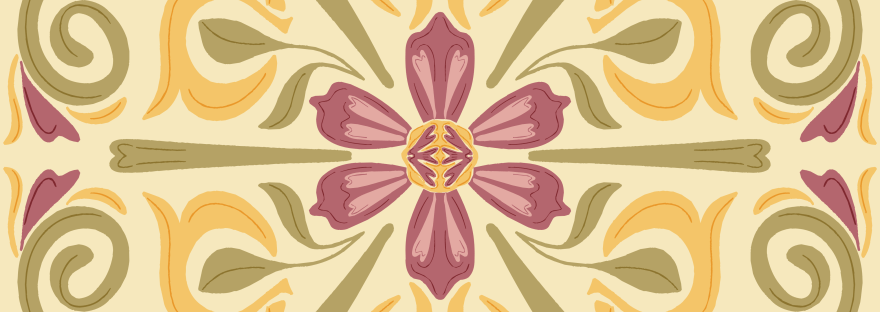
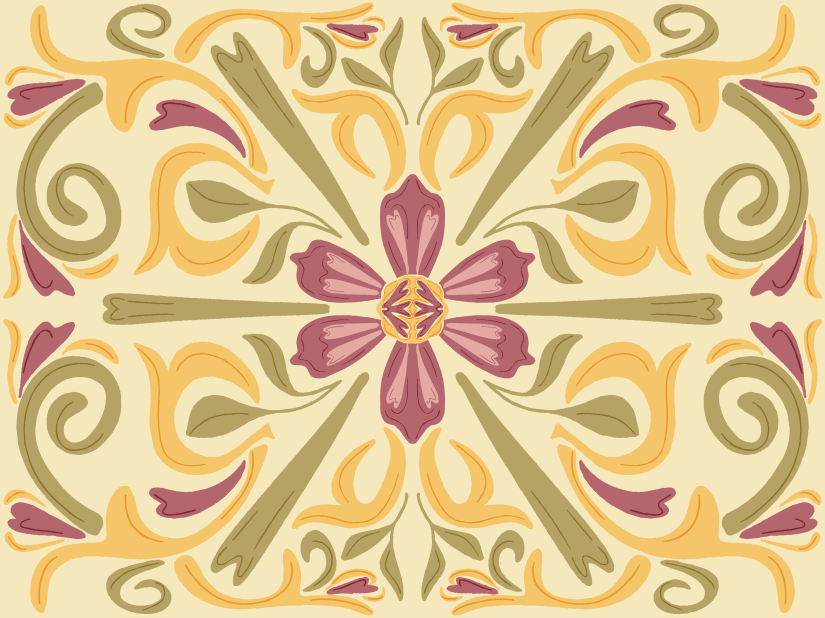
While watching the live draw, this is what I ended up with. I like it. It’s supposed to be Renaissance style from another of Liz’s classes: Renaissance Techniques.
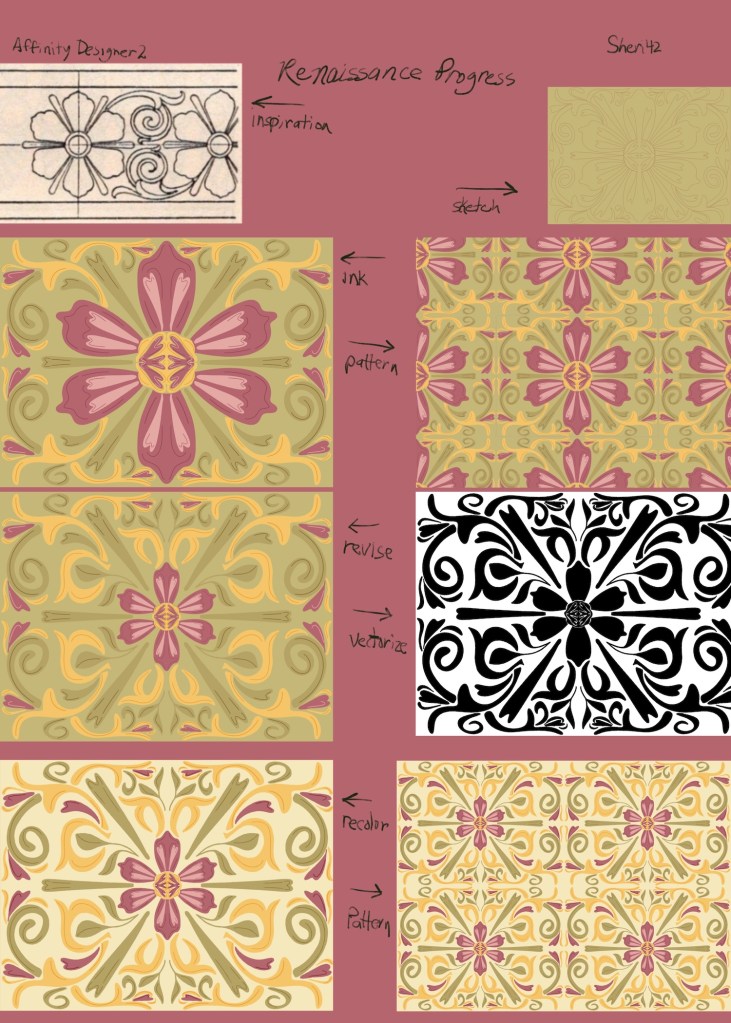
Here’s the process, from inspiration to sketch to inking to revision.
Next Attempt

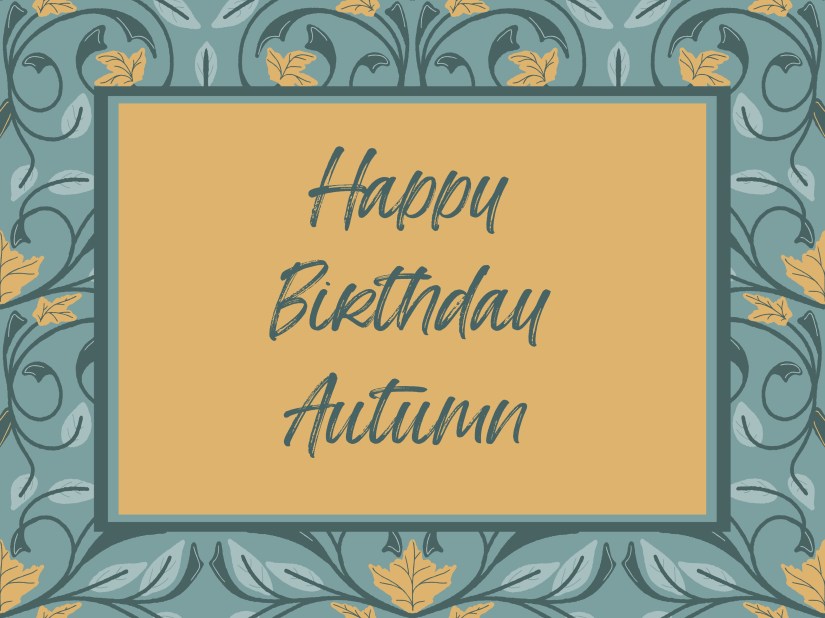
I wanted something with autumn maple leaves because my daughter’s birthday is tomorrow, and I wanted a card. I tried several versions of this with different kinds of renaissance swirls among maple leaves, but took the swirls out and left only the leaves. Vectorizing and recoloring is easy using Liz’s special tools; learn about them here. Click the image at right to see all the color versions using Liz’s tools.
Last Design
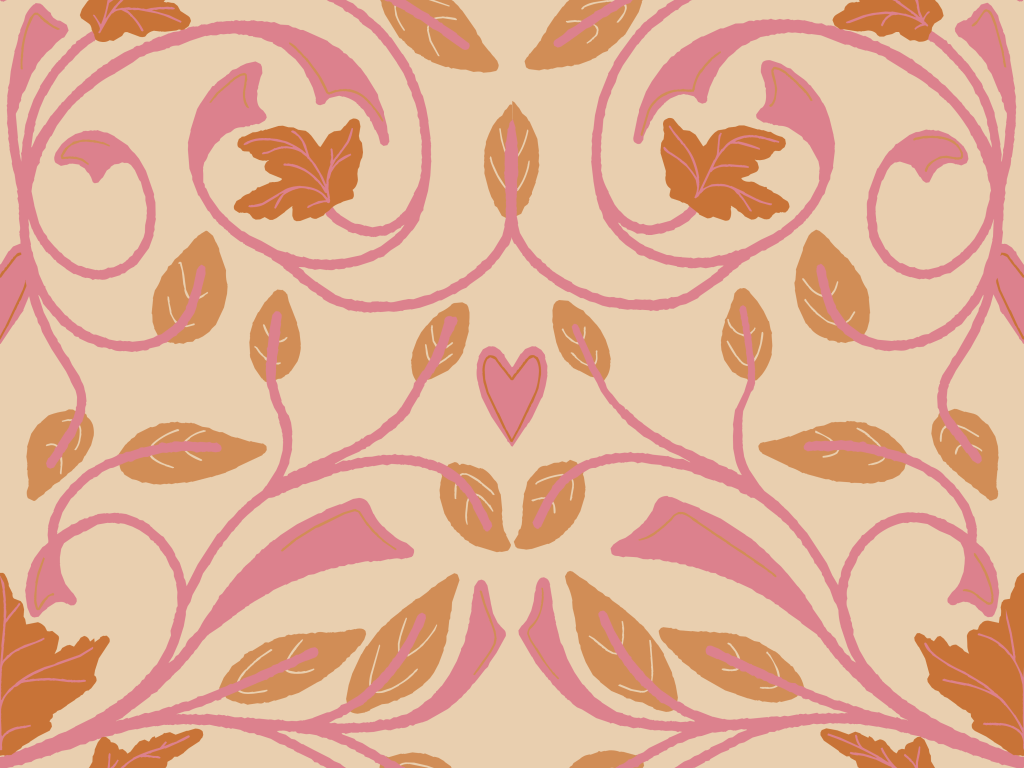
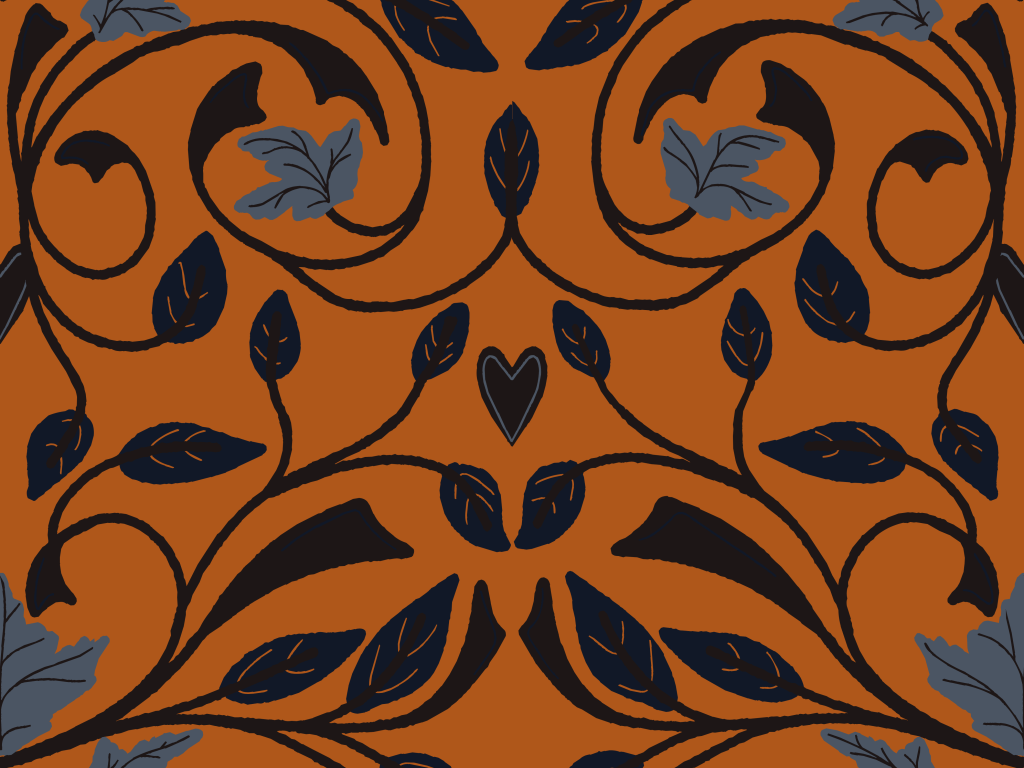
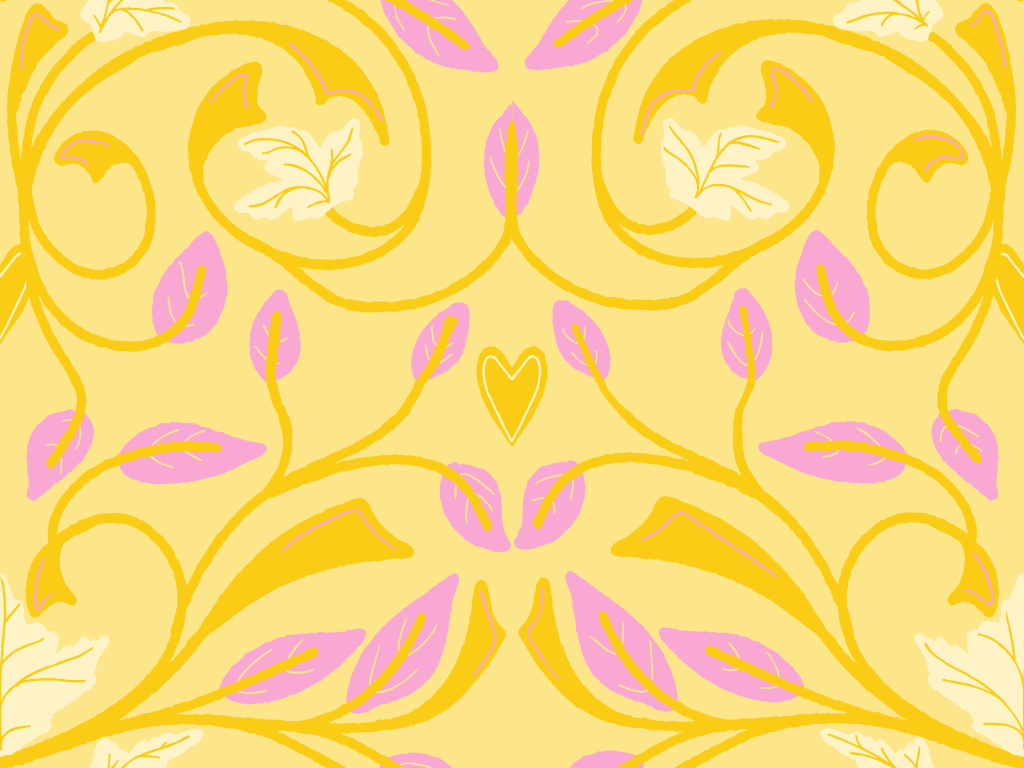
I’m still trying to create a design with those renaissance swirls. This time I started with the swirls and worked in the autumn maple leaves.
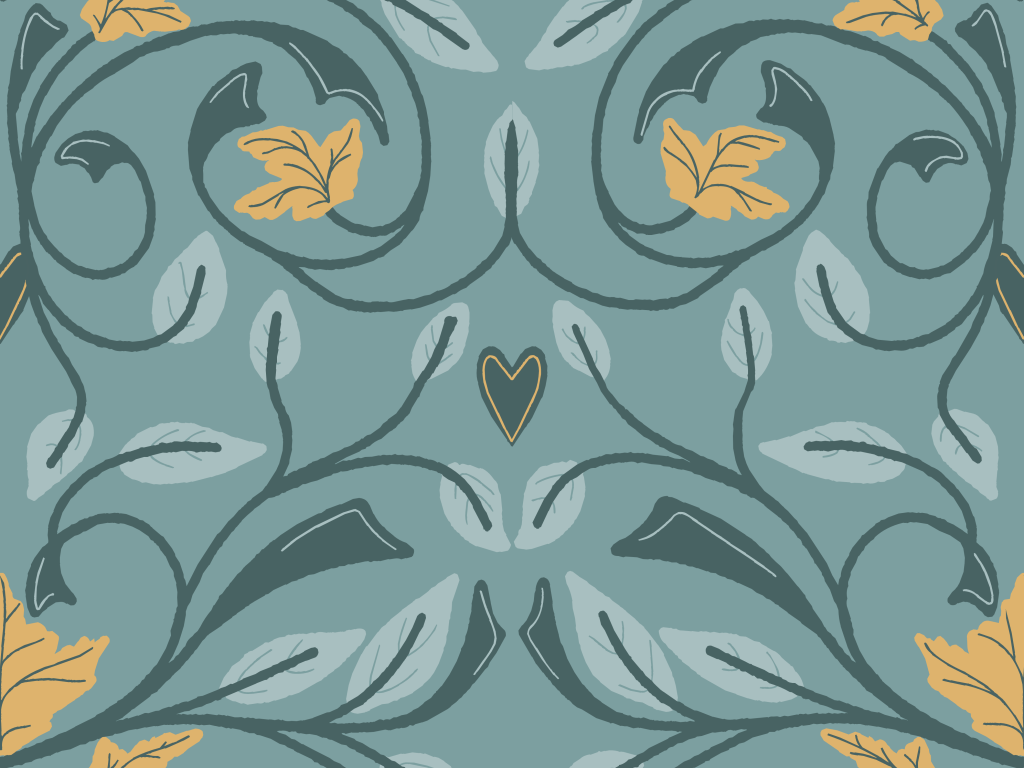
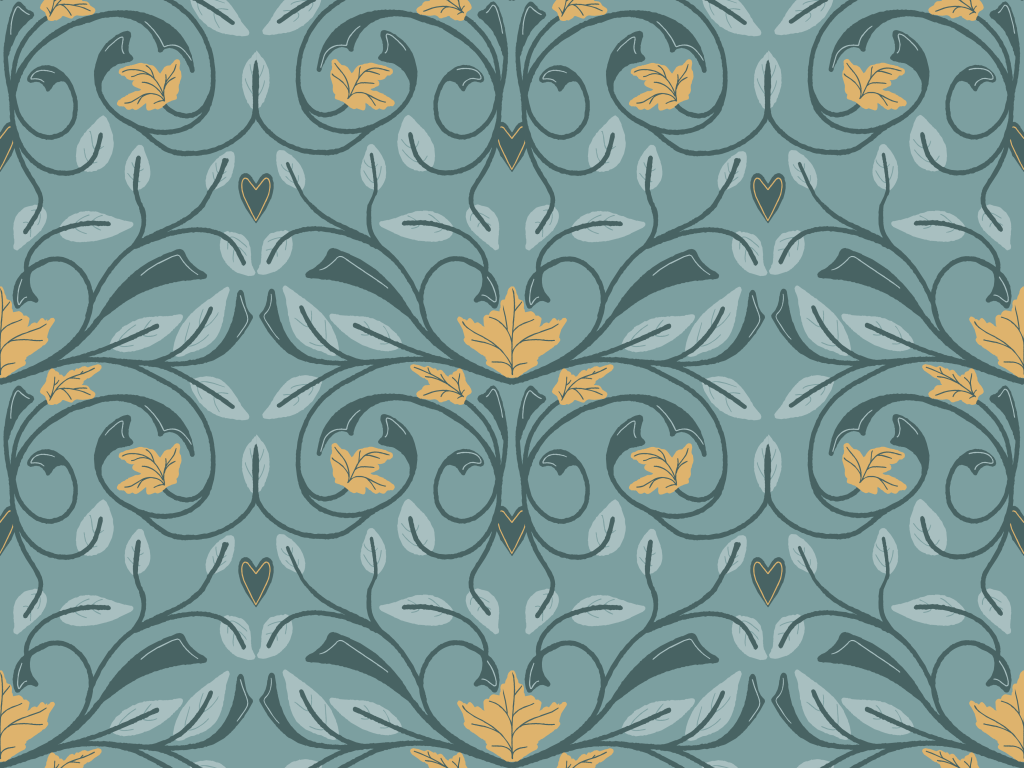
If I use this design, I’ll add some texture to the background. Here’s the card using this design:
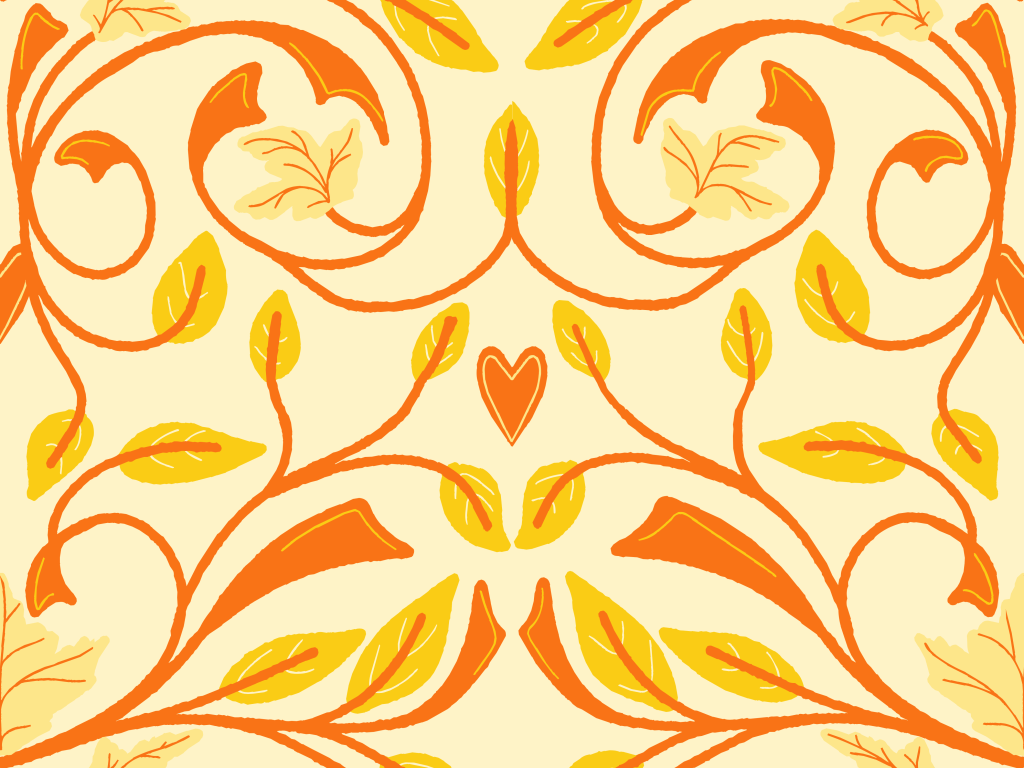
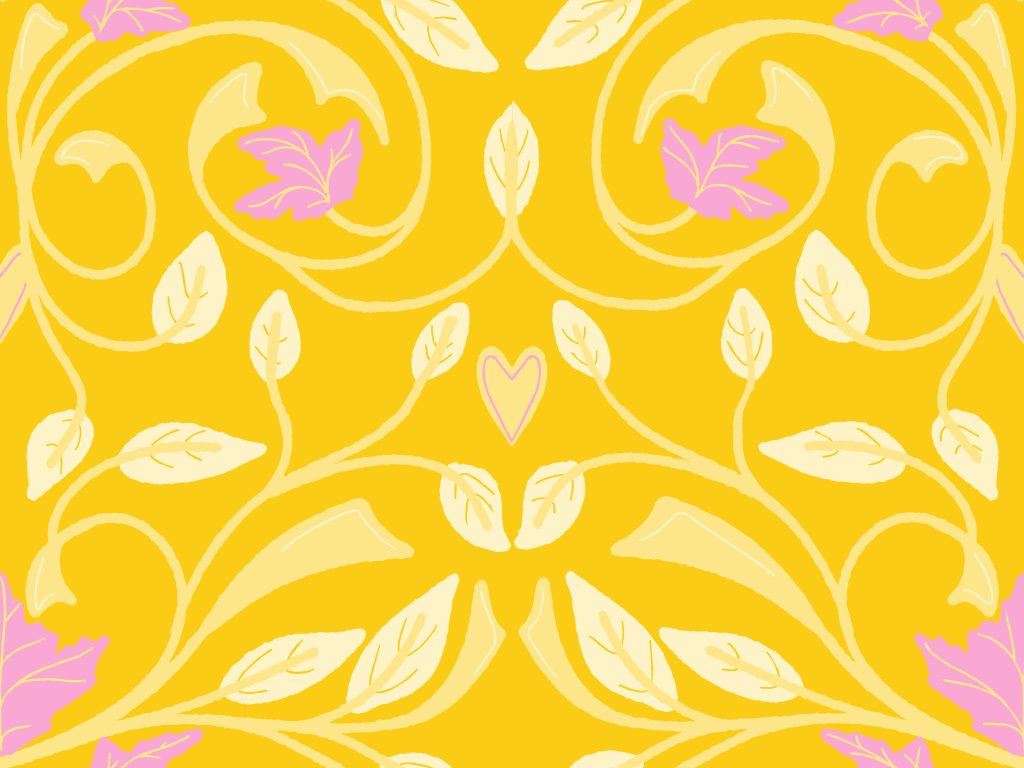
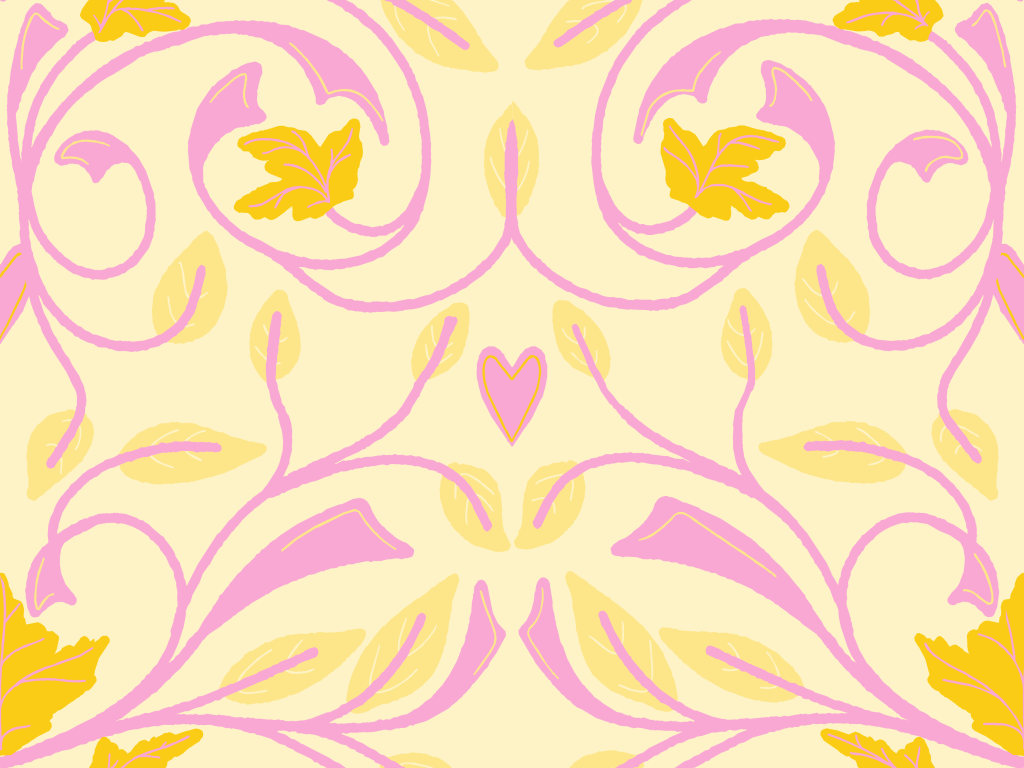
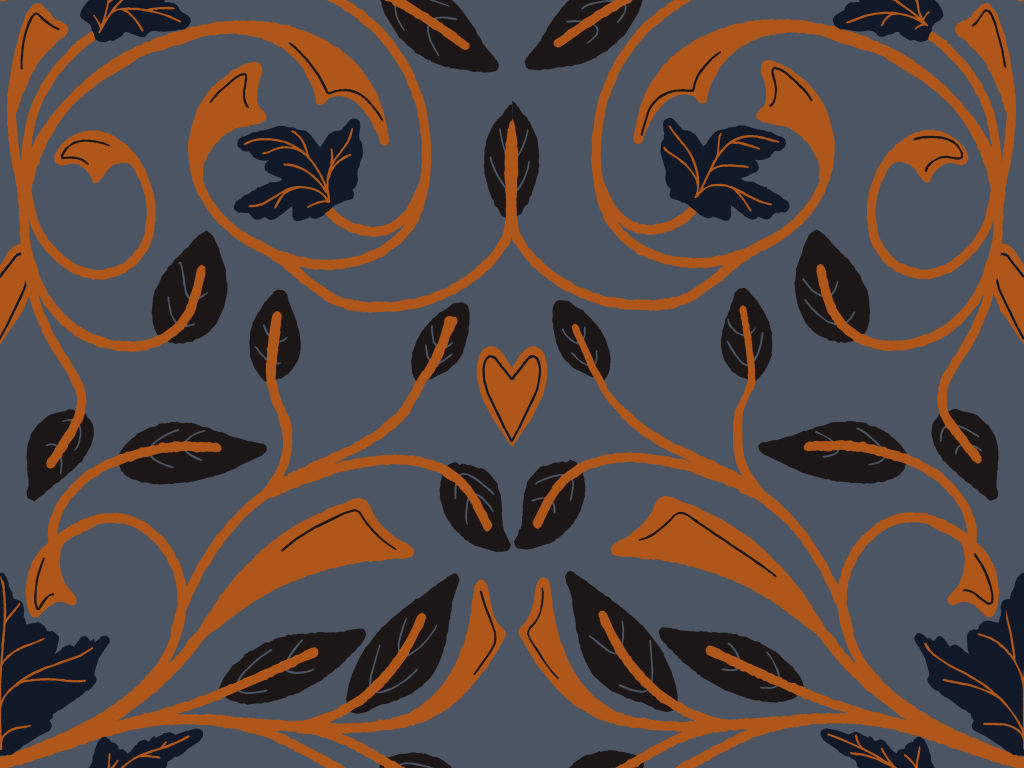
And the recoloring gallery using the tool by Liz. I have other palettes of my own to try.
Thanks for stopping by!
Check out Liz’s tools and community area [links above]– a great place to learn not only art techniques in Procreate and Affinity Designer, but also many brushes and her special tools that make creating multiple color versions easy as well as a vectorizing tool that turns the pixel side of Affinity into vectors for more versatile use of one’s art.
You can find many helpful artists teachers, including Liz, on my Artist Resources page. Take a look at their IG and YouTube. Find one that fits your learning and art preferences and stick with them a while to develop your skills.
You’re welcome to follow this blog for art inspiration. We can share with #warmup4art to enjoy our work together! I look forward to your sharing and find me at @42Sheri, on Mastodon Sheri42, on Flickr teach.eagle Sheri 42. And, I’m so thankful you’ve been joining me with art this year! Take care!